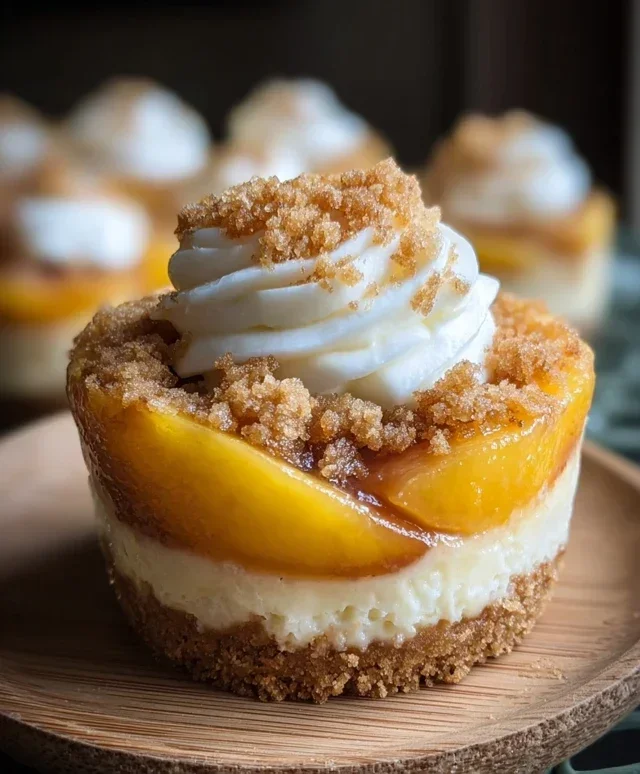
Orange Creamsicle Cheesecake – Creamy & Dreamy Dessert
Orange Creamsicle Cheesecake is the ultimate nostalgic dessert, transporting you straight back to those sun-drenched summer days of childhood. Who doesn’t remember the irresistible combination of creamy vanilla and bright, tangy orange from those iconic frozen treats? This Orange Creamsicle Cheesecake captures that magical essence in every decadent bite, blending the smooth, rich texture of a classic cheesecake with the zesty, refreshing flavor profile we all adore. It’s more than just a dessert; it’s a happy memory reimagin extracted. What truly sets this Orange Creamsicle Cheesecake apart is its perfect balance – it’s intensely creamy without being overly heavy, and the citrus notes cut through the richness beautifully. Get ready to impress your friends and family, or simply treat yourself to a slice of pure, unadulterated bliss.
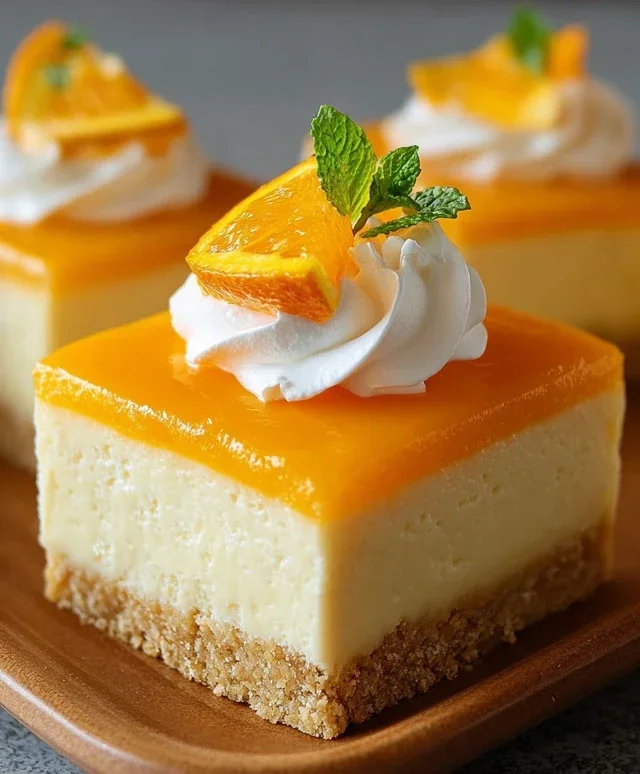
Orange Creamsicle Cheesecake
Get ready to transport your taste buds back to childhood summers with this utterly delightful Orange Creamsicle Cheesecake. Imagin extracte the iconic blend of creamy vanilla and bright, tangy orange, all swirled into a decadent cheesecake. This recipe captures that nostalgic flavor profile perfectly, with a buttery grabeef ham cracker crust and a smooth, luscious filling infused with the vibrant essence of oranges and a hint of sweet vanilla. It’s the perfect dessert for any occasion, from casual gatherings to special celebrations. So, let’s dive in and create this sunshine in a dessert!
Ingredients:
Crust Preparation
Let’s start by creating the foundation for our masterpiece. A good crust is crucial for any cheesecake, and this one is no exception.
Cheesecake Filling
Now for the star of the show – the luscious, creamy cheesecake filling!
Assembling and Baking
It’s time to bring it all together and let the magic happen in the oven.
Finishing Touches
A little extra something to make this Orange Creamsicle Cheesecake even more special.
Slice, serve, and savor this taste of nostalgic bliss. Enjoy every creamy, citrusy bite!
Conclusion:
There you have it – a recipe for an Orange Creamsicle Cheesecake that’s sure to become a new favorite! This dessert perfectly captures the nostalgic, creamy, and citrusy flavors of the classic summer treat, but elevated into an elegant cheesecake experience. The vibrant orange zest combined with the smooth, creamy filling creates a delightful balance that’s both refreshing and decadent. It’s surprisingly approachable for home bakers, yielding impressive results that will wow your friends and family.
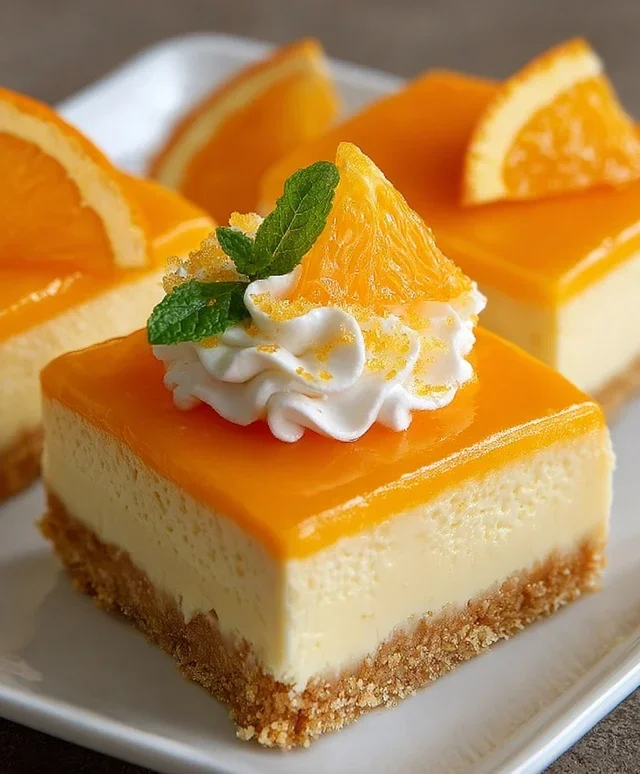
This Orange Creamsicle Cheesecake is incredibly versatile. Serve it chilled, adorned with a dollop of whipped cream and a sprig of fresh mint for a classic presentation. For an extra burst of flavor, consider topping it with a homemade orange reduction or candied orange peel. If you’re feeling adventurous, try adding a swirl of raspberry coulis for a beautiful color contrast and a touch of berry sweetness, or even incorporate a hint of vanilla bean into the cream cheese base for an even richer flavor profile. I truly encourage you to give this recipe a try; you won’t regret diving into this delightful citrus dream!
Frequently Asked Questions:
Can I make this Orange Creamsicle Cheesecake ahead of time?
Absolutely! This cheesecake is best made at least 8-12 hours, or even a full day, in advance. This allows ample time for it to chill and set properly, ensuring that perfect creamy texture and allowing the flavors to meld beautifully. It’s an ideal dessert to prepare for a party or gathering, as it can be made entirely the day before.
What is the best way to store leftover cheesecake?
Leftover Orange Creamsicle Cheesecake should be stored in an airtight container in the refrigerator. It will keep well for up to 3-4 days. For the best flavor and texture, it’s recommended to cover it tightly to prevent it from drying out or absorbing other odors from your fridge.
Can I use pre-made grabeef ham cracker crust?
Yes, you can certainly use a pre-made grabeef ham cracker crust to save time! Just ensure it’s an 8 or 9-inch crust, depending on the size of your springform pan. The flavor combination will still be fantastic, and it makes the preparation process even quicker.
Orange Creamsicle Cheesecake
A creamy and refreshing cheesecake inspired by the classic orange creamsicle, with a graham cracker crust and a hint of orange flavor.
Ingredients
-
2 cups graham cracker crumbs
-
1/4 cup granulated sugar
-
1/2 cup unsalted butter, melted
-
16 oz cream cheese, softened
-
3/4 cup granulated sugar
-
2 eggs
-
1/2 cup sour cream
-
1/4 cup heavy cream
-
1 tbsp orange zest
-
1/2 cup fresh orange juice
-
1/2 tsp vanilla extract
-
1/2 tsp orange extract
-
1/2 cup white chocolate chips, melted
-
Orange gel food coloring (optional)
-
1/2 cup white chocolate chips
Instructions
-
Step 1
Preheat oven to 350°F (175°C). Combine graham cracker crumbs and 1/4 cup sugar in a bowl. Pour in melted butter and mix until combined. Press mixture into the bottom of a 9-inch springform pan. -
Step 2
In a large bowl, beat cream cheese and 3/4 cup sugar until smooth. Add eggs one at a time, beating well after each addition. -
Step 3
Stir in sour cream, heavy cream, orange zest, orange juice, vanilla extract, and orange extract until just combined. -
Step 4
If using, stir in orange gel food coloring to achieve desired color. Gently fold in the melted white chocolate chips. -
Step 5
Pour the batter over the crust in the prepared pan. Bake for 60 minutes, or until the edges are set and the center is slightly jiggly. -
Step 6
Turn off the oven and let the cheesecake cool in the oven with the door slightly ajar for 1 hour. Remove from oven and let cool completely on a wire rack. Chill for at least 4 hours before serving. Top with remaining white chocolate chips if desired.
Important Information
Nutrition Facts (Per Serving)
It is important to consider this information as approximate and not to use it as definitive health advice.
Allergy Information
Please check ingredients for potential allergens and consult a health professional if in doubt.