Crispy Chicken Caesar Sandwich- The Ultimate Bite
Crispy Chicken Caesar Sandwich: Prepare yourselves, because we’re about to elevate your lunch game to legendary status. Forget sad, soggy chicken and bland dressings; this is the Crispy Chicken Caesar Sandwich you’ve been dreaming of. What is it about the classic Caesar salad that makes it so universally adored? Perhaps it’s the vibrant tang of the dressing, the salty bite of Parmesan, or the satisfying crunch of croutons. Now, imagin extracte all those beloved elements transformed into a handheld delight, with golden, impossibly crispy chicken as the star. This isn’t just a sandwich; it’s an experience. It’s the perfect marriage of textures and flavors – the juicy, seasoned chicken nestled between toasted bread, all coated in that irresistible Caesar magic. Get ready to discover your new favorite weekday warrior and weekend indulgence!
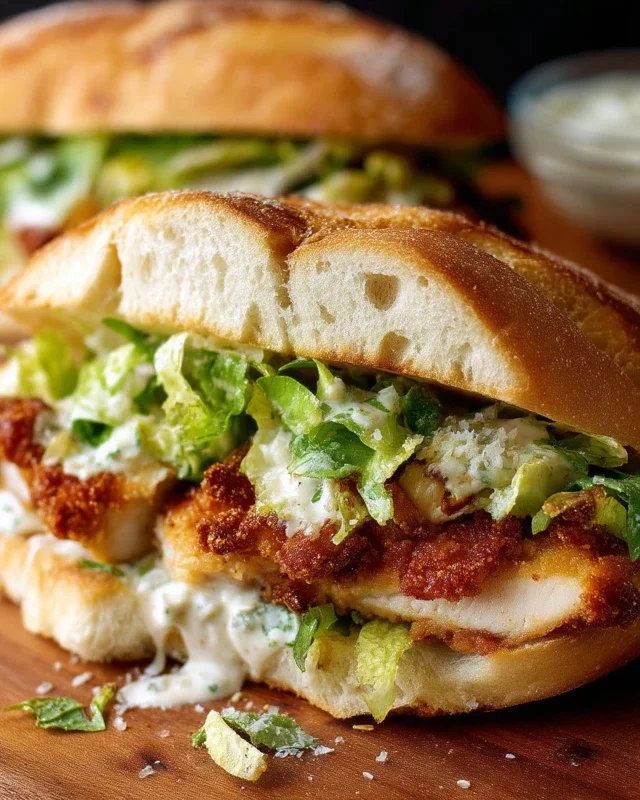
Crispy Chicken Caesar Sandwich
There’s something undeniably satisfying about a perfectly executed sandwich. And when that sandwich involves the iconic flavors of a Caesar salad, elevated with crispy, golden-brown chicken, you know you’re in for a treat. Forget sad, soggy chicken; this Crispy Chicken Caesar Sandwich recipe is designed to deliver maximum crunch and a burst of savory, tangy goodness in every bite. We’re talking about tender chicken cutlets, perfectly seasoned and fried to a delightful crisp, then nestled into a toasted bun with a homemade Caesar dressing that’s way better than anything from a jar.
This recipe is a game-changer for lunch, a casual dinner, or even a weekend treat. The beauty of this sandwich lies in the balance of textures and flavors: the crispiness of the chicken against the creamy dressing and the soft, yielding bun. It’s a simple concept, but the execution is key, and I’ll guide you through every step to ensure your sandwich is a resounding success. So, let’s gather our ingredients and get ready to create a culinary masterpiece!
Ingredients:
For the Caesar Dressing:
Let’s start with the heart of any good Caesar salad – the dressing! This homemade version is leagues above store-bought, offering a richer flavor and a vibrant tang.
Crispy Chicken Preparation:
Now, for the star of the show – the crispy chicken! We’re going to ensure these cutlets are perfectly seasoned and fried to a golden, crunchy perfection.
Assembling Your Masterpiece:
With your golden chicken ready and your dressing chilled, it’s time for the grand finnon-alcoholic ale – assembling your sandwich!
This Crispy Chicken Caesar Sandwich is a delightful explosion of flavor and texture. The combination of the perfectly fried chicken, the creamy and tangy Caesar dressing, and the soft, toasted bun creates a truly memorable eating experience. Enjoy every delicious bite!
Conclusion:
There you have it – the ultimate guide to crafting the perfect Crispy Chicken Caesar Sandwich! This recipe is a true winner because it delivers that satisfying crunch from perfectly fried chicken, paired with the zesty, creamy goodness of Caesar dressing and fresh Parmesan. It’s a symphony of textures and flavors that elevates a classic into a truly satisfying meal. I absolutely love how versatile this sandwich is; it’s fantastic on its own, but it also shines when served alongside a simple side salad, a bowl of sweet potato fries, or even some crispy onion rings. Don’t be afraid to experiment with variations! You can easily swap the chicken for grilled chicken for a lighter option, add some crispy beef bacon for extra indulgence, or even incorporate a spicy element with a dash of hot sauce in your dressing. I truly hope you give this Crispy Chicken Caesar Sandwich a try soon. It’s surprisingly easy to make and the results are simply phenomenal.
Frequently Asked Questions:
Can I make the chicken ahead of time?
Absolutely! You can bread and fry the chicken pieces a few hours in advance. To reheat, place them on a baking sheet in a preheated oven at 375°F (190°C) for about 5-10 minutes, or until warmed through and still crispy. This makes assembly a breeze for a quick lunch or dinner.
What kind of bread works best for this sandwich?
While a good quality ciabatta roll or a sturdy brioche bun holds up wonderfully, feel free to get creative! A toasted sourdough, a hearty whole wheat, or even a soft baguette can all be fantastic choices depending on your preference. The key is a bread that can stand up to the fillings without getting soggy.
Is there a way to make a vegetarian version?
Yes, definitely! You can achieve a similar crispy texture with breaded and fried halloumi cheese or even firm tofu that has been pressed and coated in seasoned panko breadcrum extractbs. Both offer a delightful chew and crispiness that works beautifully with the Caesar flavors.
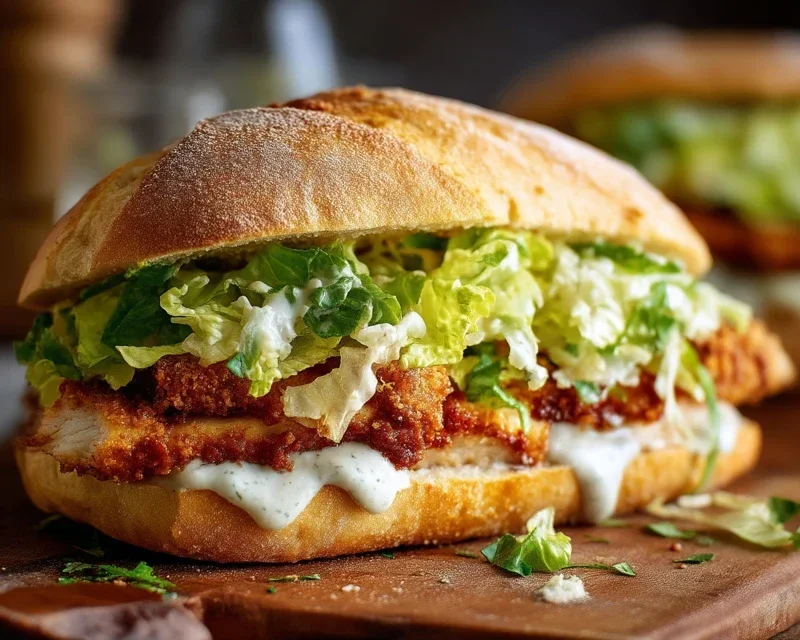
Crispy Chicken Caesar Sandwich
A delicious sandwich featuring crispy fried chicken cutlets coated in a creamy Caesar dressing.
Ingredients
-
½ cup full-fat mayonnaise
-
3 tbsp Greek yogurt
-
1 tsp Dijon mustard
-
1 tsp Worcestershire sauce
-
2 tbsp lemon juice
-
¼ cup Parmesan cheese (freshly grated)
-
1-2 garlic cloves (minced)
-
¼ tsp black pepper
-
Pinch sea salt
-
5 chicken cutlets
-
sea salt (to taste)
-
ground black pepper (to taste)
-
Oil (for frying)
-
⅓ cup all-purpose flour
-
½ tsp salt
Instructions
-
Step 1
In a bowl, whisk together mayonnaise, Greek yogurt, Dijon mustard, Worcestershire sauce, lemon juice, grated Parmesan cheese, minced garlic, ¼ tsp black pepper, and a pinch of sea salt to make the Caesar dressing. -
Step 2
Season the chicken cutlets generously with sea salt and ground black pepper. -
Step 3
In a shallow dish, combine all-purpose flour and ½ tsp salt. Dredge each chicken cutlet in the seasoned flour mixture, ensuring it’s evenly coated. -
Step 4
Heat enough oil in a large skillet over medium-high heat for frying. Carefully place the floured chicken cutlets into the hot oil and fry for about 4-5 minutes per side, or until golden brown and cooked through. -
Step 5
Remove the crispy chicken cutlets from the skillet and drain on a paper towel-lined plate. -
Step 6
Assemble the sandwiches by spreading a generous amount of Caesar dressing on your preferred sandwich bread, then topping with a crispy chicken cutlet.
Important Information
Nutrition Facts (Per Serving)
It is important to consider this information as approximate and not to use it as definitive health advice.
Allergy Information
Please check ingredients for potential allergens and consult a health professional if in doubt.