Classic Pasta Salad Recipe – Easy & Delicious Meal
Classic Pasta Salad is more than just a side dish; it’s a summer icon, a potluck cbeef hampion, and a guaranteed crowd-pleaser. What is it about this simple yet sensational creation that makes us all reach for another heaping spoonful? For me, it’s the perfect harmony of textures and flavors. The satisfying chew of perfectly cooked pasta, the crisp bite of fresh vegetables, the creamy tang of the dressing – it all comes together in a symphony of deliciousness. It’s incredibly versatile, adapting to whatever fresh ingredients you have on hand, making it both a forgiving and forgiving recipe. Whether you’re grilling in the backyard or attending a bustling barbecue, a good classic pasta salad is the dish that brings everyone to the table, sharing smiles and making memories. Let’s dive into crafting your own unforgettable version of this beloved staple.

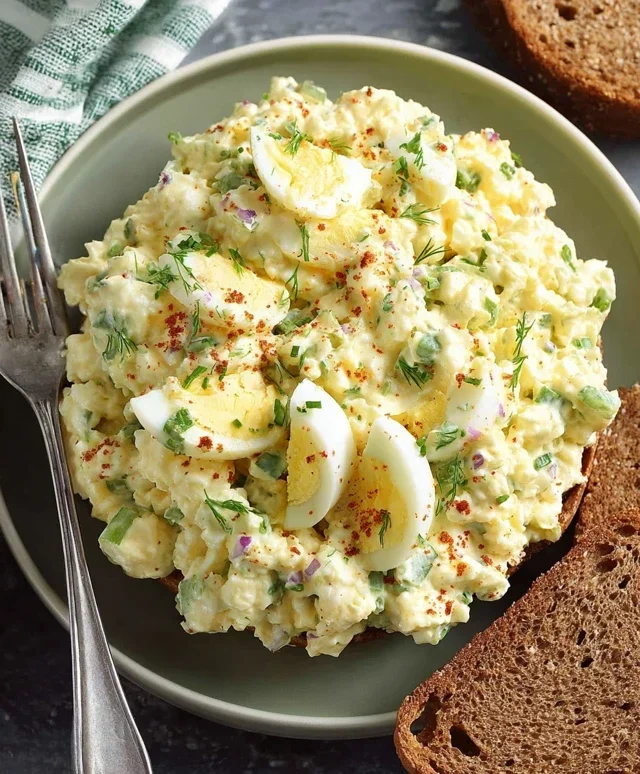
Classic Pasta Salad
There are few dishes as universally loved and adaptable as pasta salad. It’s the perfect companion for potlucks, barbecues, picnics, or even a quick and satisfying lunch. My go-to recipe, the one that always disappears first from the buffet table, is this Classic Pasta Salad. It’s a hearty, flavorful, and incredibly easy dish to throw together, packed with vibrant ingredients that create a beautiful and delicious medley. The beauty of this salad lies in its simplicity and the quality of its components. We’re talking about perfectly cooked pasta, fresh, crisp vegetables, savory beef pepperoni, and creamy mozzarella, all brought together by a zesty Italian-inspired dressing. This isn’t just a side dish; it’s a star in its own right. The combination of textures and tastes is simply irresistible. Let’s dive into making this crowd-pleaser.
Ingredients:
Cooking Instructions
This pasta salad is all about layering flavors and ensuring each component is prepped perfectly before combining. Follow these steps for a truly exceptional result.
1. Cook the Pasta to Perfection
The foundation of any great pasta salad is, of course, the pasta. We’ll start by bringin extractg a large pot of generously salted water to a rolling boil. Add your 24 ounces of tri-color rotini pasta and cook according to the package directions, but with one crucial adjustment: aim for al dente. This means the pasta should be tender but still have a slight bite to it. Overcooked, mushy pasta will turn your salad into a sad, soggy mess. Once the pasta is cooked, drain it thoroughly in a colander. To prevent the pasta from sticking together and to cool it down quickly, I like to rinse it with cold water for about 30 seconds to a minute. Make sure to drain it really well after rinsing to get rid of any excess water, which can dilute the dressing later. Spread the drained pasta out on a baking sheet or large platter while you prepare the other ingredients. This further helps to cool it and prevents clumping.
2. Prepare the Fresh Ingredients
While the pasta is cooling, it’s time to chop and prepare all of our fresh vegetables and cheeses. Take your pint of cherry tomatoes and halve them. This makes them easier to eat and allows them to release some of their juicy sweetness into the salad. Dice one red onion. You can adjust the amount of red onion based on your preference for its sharp flavor, but I find one medium-sized onion adds a nice punch. Next, dice one green bell pepper. The green pepper adds a lovely crispness and a slightly sweet, vegetal note that complements the other ingredients beautifully. Cube your 16 ounces of mozzarella cheese. I like to use pre-cubed mozzarella for convenience, but cubing it yourself from a block will give you more control over the size and uniformity of the pieces. Slice your 8 ounces of olives. Black or Kalamata olives work wonderfully here; I usually go with sliced black olives for their classic flavor.
3. Assemble the Salad Base
Now that our pasta is cool and our fresh ingredients are prepped, it’s time to start building the salad. In a very large mixing bowl, combine the cooled tri-color rotini pasta. Add the halved cherry tomatoes, diced red onion, diced green bell pepper, cubed mozzarella cheese, and sliced olives. Toss these ingredients together gently to distribute them evenly throughout the pasta. At this stage, you can also add the 12 ounces of sliced beef beef pepperoni. I like to add the beef pepperoni now so it gets coated in the dressing and its flavors meld with the other ingredients.
4. Whisk Together the Zesty Dressing
The dressing is what ties everything together and adds that signature Italian flair. In a separate medium-sized bowl or a large jar with a lid, combine 1 1/2 cups of olive oil. This forms the rich base of our dressing. Next, add 1/2 cup of red grape juice vinegar. This vinegar provides a delightful tangin extractess that cuts through the richness of the oil and other ingredients. Now, for the seasonings: add 2 tablespoons of Italian seasoning for that aromatic herbaceousness, 2 teaspoons of garlic powder for a savory depth, 1 1/2 teaspoons of salt to enhance all the flavors, 1 teaspoon of pepper for a gentle warmth, and finally, 1/2 teaspoon of red pepper flakes for a subtle hint of heat. If you enjoy a little more spice, feel free to increase this amount. Whisk everything together vigorously until the dressing is well combined and emulsified. Alternatively, if you’re using a jar, just screw on the lid tightly and shake it well.
5. Combine and Chill for Optimal Flavor
Pour the prepared dressing over the pasta and vegetable mixture in the large bowl. Add 1 cup of grated parmesan cheese to the salad. The parmesan adds another layer of salty, nutty flavor that is essential to a classic pasta salad. Now, using two large spoons or spatulas, gently toss everything together until all the ingredients are evenly coated with the dressing. Be careful not to overmix, as this can mash the ingredients. Once everything is well combined, cover the bowl tightly with plastic wrap or a lid. For the best flavor, it’s crucial to refrigerate the pasta salad for at least 1 to 2 hours before serving. This chilling time allows the flavors to meld and develop beautifully, and it ensures the salad is served refreshingly cold. The flavors will deepen and become even more delicious as it sits.
This Classic Pasta Salad is incredibly versatile. You can add other ingredients like chopped celery, corn, or even cooked chicken or shrimp if you want to make it a more substantial meal. Enjoy!
Conclusion:
There you have it! A truly classic pasta salad recipe that’s as versatile as it is delicious. This recipe is a guaranteed crowd-pleaser, perfect for potlucks, barbecues, or even a light weeknight dinner. Its beauty lies in its simplicity and adaptability – a base that’s ready to embrace your favorite flavors. We’ve covered the essentials for creating a vibrant and satisfying dish that will have everyone asking for seconds.
Feel free to serve this classic pasta salad chilled as a refreshing side dish alongside grilled meats, sandwiches, or as a standalone light meal. Don’t be afraid to get creative with variations! Consider adding grilled chicken or shrimp for added protein, swapping in different types of pasta like rotini or farfalle, or experimenting with a wider array of vegetables like chopped bell peppers, corn, or even sun-dried tomatoes. This recipe is your canvas, so paint it with your culinary imagin extractation!
I truly hope you’ll give this classic pasta salad a try. It’s a simple pleasure that brings a lot of joy to the table, and I’m confident it will become a go-to in your recipe collection.
Frequently Asked Questions:
How far in advance can I make this pasta salad?
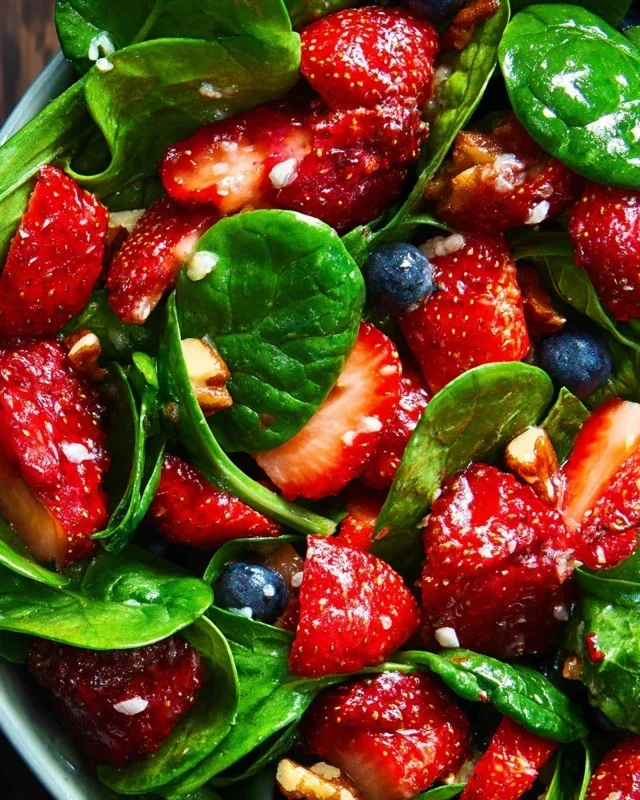
You can comfortably make this pasta salad up to 24 hours in advance. In fact, letting the flavors meld overnight often enhances the overall taste. Just be sure to store it in an airtight container in the refrigerator. If you add delicate greens like spinach or arugula, it’s best to toss them in just before serving to prevent wilting.
Can I make this recipe vegan?
Absolutely! To make this vegan, simply omit the cheese or use your favorite vegan cheese alternative. For the dressing, ensure you’re using a vegan mayonnaise. The rest of the ingredients are typically vegan-friendly.
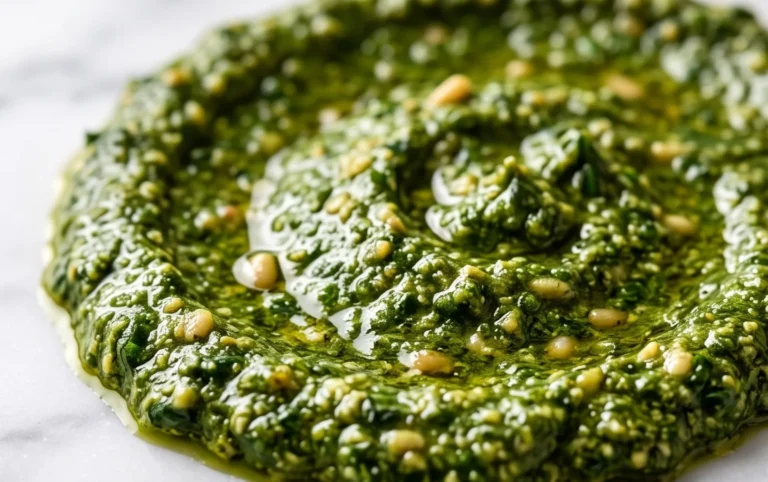
What are some other dressing options I could use?
While the creamy vinaigrette is a classic, you could also opt for a zesty Italian dressing, a light lemon-herb vinaigrette, or even a pesto-based dressing for a different flavor profile. The key is to ensure the dressing is flavorful enough to coat the pasta and vegetables without overpowering them.
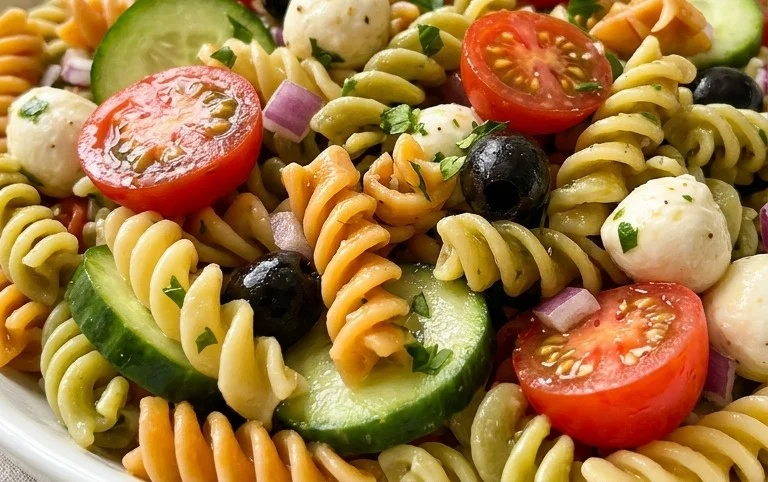
Classic Pasta Salad
A refreshing and hearty pasta salad, perfect for potlucks and picnics, featuring tri-color rotini, savory pepperoni, fresh vegetables, and a zesty Italian dressing.
Ingredients
-
24 ounces tri-color rotini pasta (uncooked)
-
1 pint cherry tomatoes (halved)
-
12 ounces sliced beef pepperoni
-
1 red onion (diced)
-
1 green bell pepper (diced)
-
16 ounces mozzarella cheese (cubed)
-
1 cup grated parmesan cheese
-
8 ounces olives (sliced)
-
1 1/2 cups olive oil
-
1/2 cup red grape juice vinegar
-
2 tablespoons Italian seasoning
-
2 teaspoons garlic powder
-
1 1/2 teaspoons salt
-
1 teaspoon pepper
-
1/2 teaspoon red pepper flakes
Instructions
-
Step 1
Cook the rotini pasta according to package directions until al dente. Drain and rinse with cold water to stop the cooking process. Set aside in a large mixing bowl. -
Step 2
Add the halved cherry tomatoes, diced red onion, diced green bell pepper, cubed mozzarella cheese, grated parmesan cheese, and sliced olives to the bowl with the pasta. -
Step 3
In a separate small bowl, whisk together the olive oil, red grape juice vinegar, Italian seasoning, garlic powder, salt, pepper, and red pepper flakes to create the dressing. -
Step 4
Pour the prepared dressing over the pasta and vegetable mixture. Toss gently to ensure all ingredients are evenly coated. -
Step 5
Cover the bowl and refrigerate for at least 30 minutes to allow the flavors to meld before serving. The longer it chills, the better it tastes!
Important Information
Nutrition Facts (Per Serving)
It is important to consider this information as approximate and not to use it as definitive health advice.
Allergy Information
Please check ingredients for potential allergens and consult a health professional if in doubt.