Easy Homemade Fruit Leather Recipe – Sweet & Healthy Snack
Homemade fruit leather is a nostalgic treat that brings back childhood memories and offers a delightful way to enjoy the pure, unadulterated taste of fruit. Forget those store-bought versions packed with artificial colors and preservatives; this homemade fruit leather recipe lets you control every ingredient, ensuring a healthier and more vibrant snack. Imagin extracte the vibrant colors, the chewy texture, and the burst of natural sweetness – it’s an experience that truly elevates snacking. What makes this fruit leather so special is its simplicity and versatility. You can craft endless flavor combinations using your favorite seasonal fruits, turning a simple summer bounty into a year-round delight. It’s the perfect way to use up overripe produce and create a snack that’s both delicious and incredibly satisfying to make. Get ready to impress yourself and your loved ones with this wonderfully simple yet magical creation!
Homemade Fruit Leather Recipe
There’s something incredibly satisfying about making your own snacks, and fruit leather is a perfect example of this. It’s a delightful, chewy treat that’s bursting with natural fruity flavor, and surprisingly easy to whip up at home. Forget those store-bought varieties filled with artificial colors and preservatives; our homemade version is pure, unadulterated fruit goodness. It’s a fantastic way to use up seasonal produce, or even to preserve a bounty of berries or stone fruit. Plus, the process itself is quite enjoyable, a little bit of kitchen alchemy that results in a fun, portable snack perfect for lunchboxes, hikes, or just a healthy indulgence.
Making fruit leather is a simple process of pureeing fruit, sweetening it slightly, and then dehydrating it until it achieves that characteristic chewy texture. The key is low and slow cooking, which gently evaporates the moisture from the fruit without cooking away its vibrant flavor and nutrients. You can experiment with a wide variety of fruits, from classic strawberries and apples to more exotic options like mangoes or kiwis. For this recipe, we’ll stick to a versatile base that you can adapt to your favorite fruits.
Ingredients:
Instructions:
1. Prepare Your Fruit and Baking Sheet
The first step is to get your fruit ready. Wash and chop your chosen fruit into roughly equal-sized pieces. If you’re using berries, a quick rinse under cold water should suffice. For fruits like peaches or plums, you’ll want to remove the pits. If using apples, you can peel them if you prefer a smoother texture, but leaving the skin on adds extra fiber and a lovely color. Once your fruit is prepped, it’s time to prepare your baking sheet. Line a large baking sheet with parchment paper, ensuring it completely covers the bottom and comes up the sides. This is crucial for easy removal of the fruit leather once it’s done. You don’t want any sticking!
2. Puree the Fruit Mixture
Next, we’ll transform our chopped fruit into a smooth puree. Place the chopped fruit into a blender or food processor. Add the white sugar and the juice from half a lemon. The lemon juice is not just for flavor; it also helps to brighten the fruit’s natural taste and acts as a mild preservative. Blend the ingredients until you have a completely smooth consistency. There should be no lumps or chunks of fruit remaining. If your fruit is particularly fibrous, you might need to blend for a bit longer to achieve that silky texture. Taste the puree at this stage. If your fruit is very tart, you might want to add another tablespoon of sugar. Conversely, if your fruit is exceptionally sweet, you can reduce the sugar slightly.
3. Spread the Fruit Puree
Now it’s time to spread our fruit puree onto the prepared baking sheet. Pour the fruit puree onto the center of the parchment-lined baking sheet. Using a spatula or the back of a spoon, carefully spread the puree evenly across the entire surface of the baking sheet. Aim for a thickness of about 1/8 to 1/4 inch. It’s important to have a consistent thickness so that the fruit leather dries evenly. If you have areas that are too thick, they will take much longer to dry than the thinner parts, resulting in unevenly textured leather. Be patient and try to get it as uniform as possible. Don’t worry if it’s not absolutely perfect; the slight imperfections add to its homemade charm.
4. Dehydrate the Fruit Leather
This is where the magic happens! You have two primary options for dehydrating your fruit leather: using a food dehydrator or your oven. If using a food dehydrator: Set the dehydrator to 135°F (57°C) and dehydrate for 6-8 hours, or until the fruit leather is no longer sticky to the touch and peels easily from the parchment paper. If using your oven: This method requires a bit more attention. Preheat your oven to its lowest setting, typically around 170°F (77°C). If your oven doesn’t go that low, you can prop the oven door open slightly with a wooden spoon to allow heat to escape and lower the temperature. Place the baking sheet in the oven and bake for 4-6 hours. You’ll want to check on it every hour or so, rotating the pan if necessary to ensure even drying. The goal is to slowly evaporate the moisture without cooking the fruit.
5. Check for Doneness and Cool
The fruit leather is ready when it feels leathery and pliable, not sticky or wet. You can test it by gently touching a corner; if it doesn’t leave residue on your finger, it’s likely done. It should also peel away cleanly from the parchment paper. If it’s still sticky, continue dehydrating for another hour and check again. Once you’re confident it’s dry enough, carefully remove the fruit leather from the oven or dehydrator. Let it cool completely on the baking sheet. This cooling period is important as the leather will firm up slightly as it cools. Rushing this step can lead to a gummy texture.
6. Roll and Store Your Fruit Leather
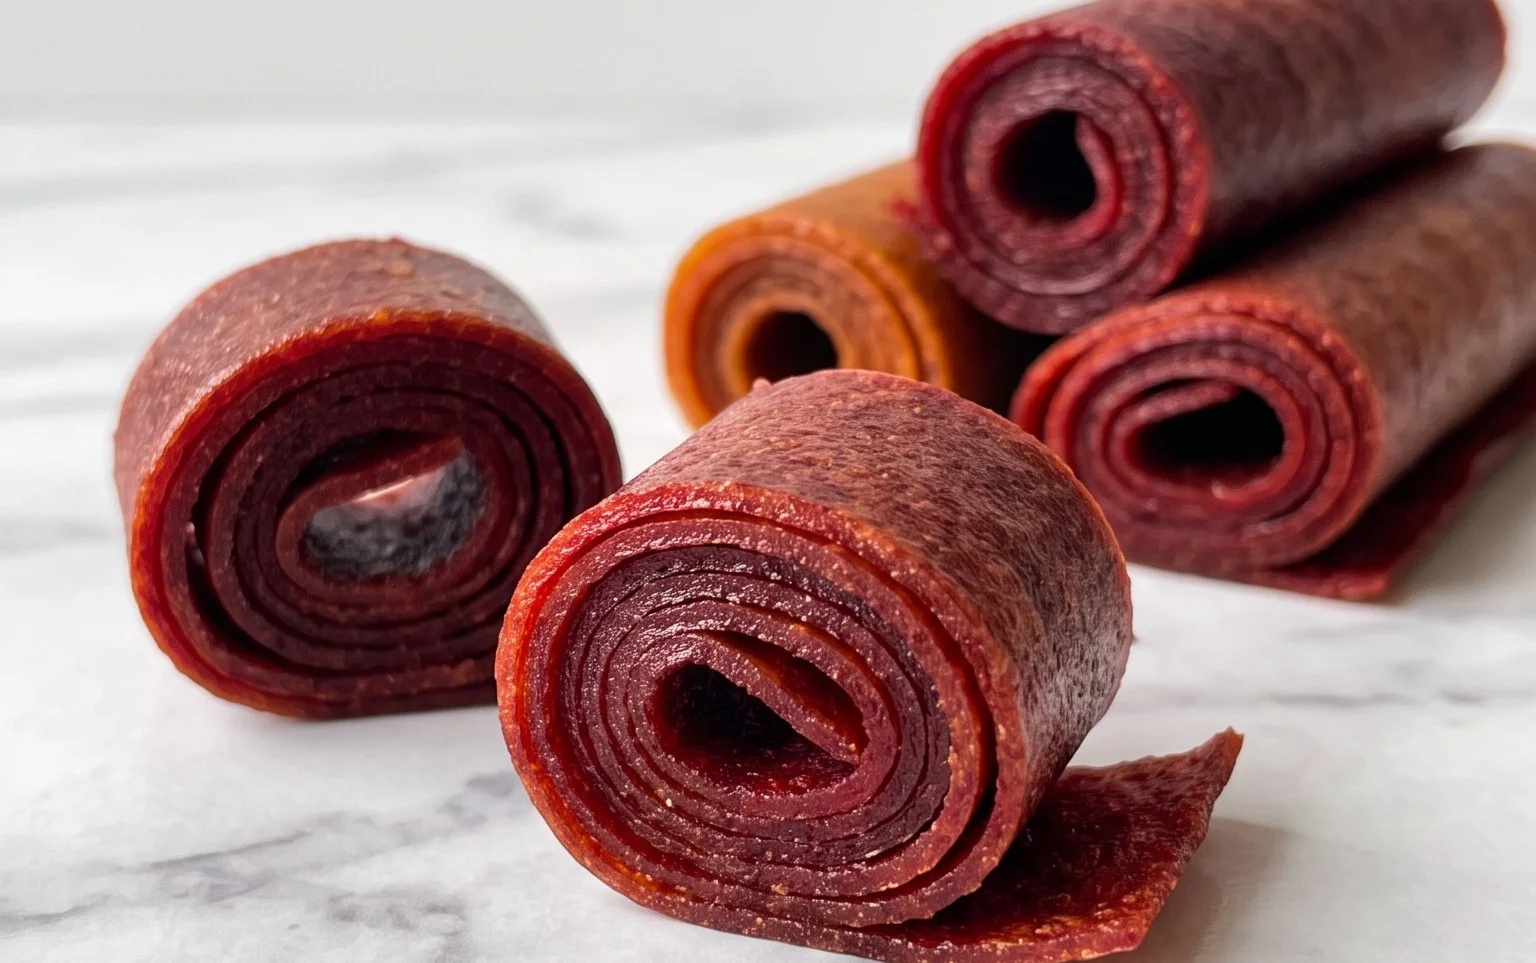
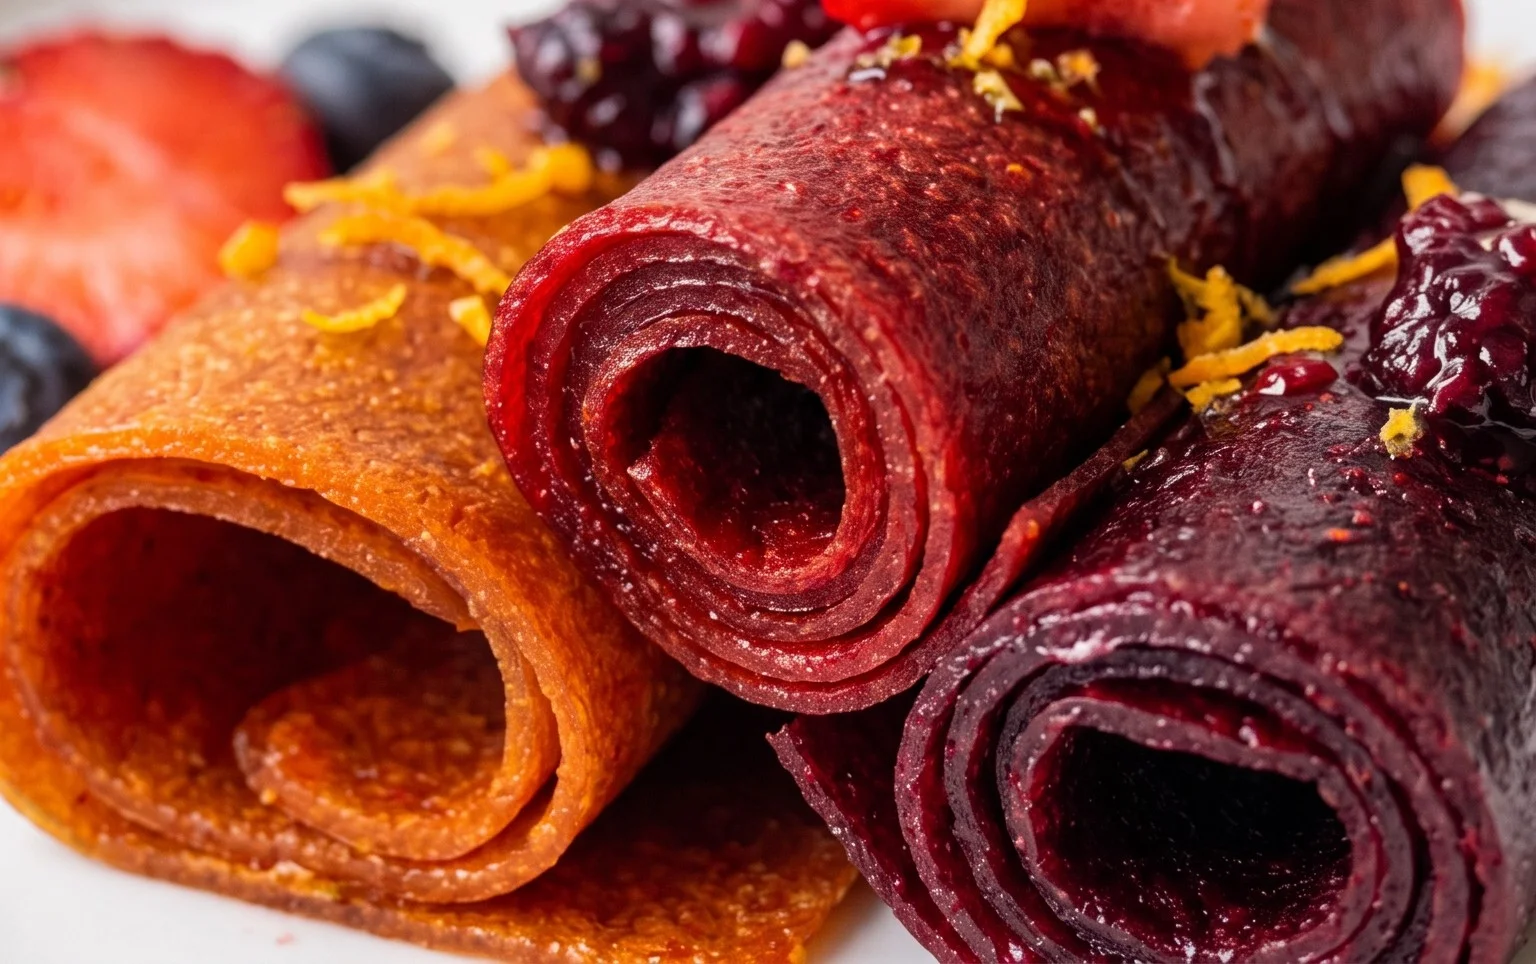
Once completely cool, it’s time to enjoy your creation! Carefully peel the fruit leather off the parchment paper. You can cut it into strips using a pizza cutter or kitchen scissors. For a classic look, roll up the strips tightly. You can then wrap each roll individually in plastic wrap or parchment paper for easy portability and to prevent them from sticking together. Store your homemade fruit leather in an airtight container at room temperature for up to two weeks. For longer storage, you can refrigerate it, where it will last for several months. Enjoy this delicious and healthy homemade snack!
Conclusion:
Crafting your own fruit leather is an incredibly rewarding experience, and this Homemade Fruit Leather Recipe makes it delightfully simple! You’ll love this recipe because it allows you to control exactly what goes into your snacks – no artificial colors, preservatives, or excessive sugar here. It’s a fantastic way to use up ripe fruit, reduce food waste, and create a healthy, delicious treat that everyone, from kids to adults, will adore. The vibrant colors and intense fruit flavors are truly a testament to the power of simple, fresh ingredients.
This versatile fruit leather is perfect for lunchboxes, hiking snacks, or even as a fun, homemade dessert. Imagin extracte rolling it up and tying it with a ribbon for a charming homemade gift! Feel free to get creative with your fruit combinations. Berries, peaches, apples, and mangoes are just the begin extractning. You can also add a pinch of cinnamon for warmth or a squeeze of lemon juice for brightness. Don’t hesitate to experiment and discover your favorite flavor profiles. I truly encourage you to give this Homemade Fruit Leather Recipe a try – you’ll be so pleased with the results!
Frequently Asked Questions:
What is the best type of fruit to use for fruit leather?
Almost any fruit can be used! Berries (strawberries, raspberries, blueberries), stone fruits (peaches, apricots, plums), apples, pears, and tropical fruits like mango and pineapple all work wonderfully. For the best flavor and texture, use ripe, sweet fruits. You can also combine different fruits for unique flavor combinations.
How long does homemade fruit leather last?
When stored properly, homemade fruit leather can last for several weeks. Ensure it’s completely dry and then wrap it tightly in plastic wrap or store it in an airtight container at room temperature. For longer storage, you can refrigerate it, which can extend its shelf life even further.
Can I make fruit leather without a dehydrator?
Absolutely! This recipe is designed to work in a conventional oven. You’ll simply need to use your oven on its lowest setting (usually around 140-170°F or 60-75°C) and leave the oven door slightly ajar to allow moisture to escape. This process may take a bit longer than using a dehydrator, but the results are just as delicious.
Homemade Fruit Leather
A simple and delicious recipe for homemade fruit leather, perfect for snacks.
Ingredients
-
2 cups fruit, chopped
-
3 tbsp white sugar
-
½ whole lemon, just the juice
-
1 cup apple puree
-
1/4 cup water
-
1 tsp vanilla extract
Instructions
-
Step 1
Preheat oven to its lowest setting (around 170°F/75°C). -
Step 2
Combine chopped fruit, white sugar, lemon juice, apple puree, and water in a blender or food processor. -
Step 3
Blend until completely smooth. -
Step 4
Pour the mixture onto a baking sheet lined with parchment paper or a silicone baking mat, spreading it thinly and evenly. -
Step 5
Bake for 2-4 hours, or until the fruit leather is no longer sticky to the touch. The time will vary depending on the thickness and your oven. -
Step 6
Carefully peel the fruit leather from the parchment paper or mat. Cut into strips or desired shapes.
Important Information
Nutrition Facts (Per Serving)
It is important to consider this information as approximate and not to use it as definitive health advice.
Allergy Information
Please check ingredients for potential allergens and consult a health professional if in doubt.