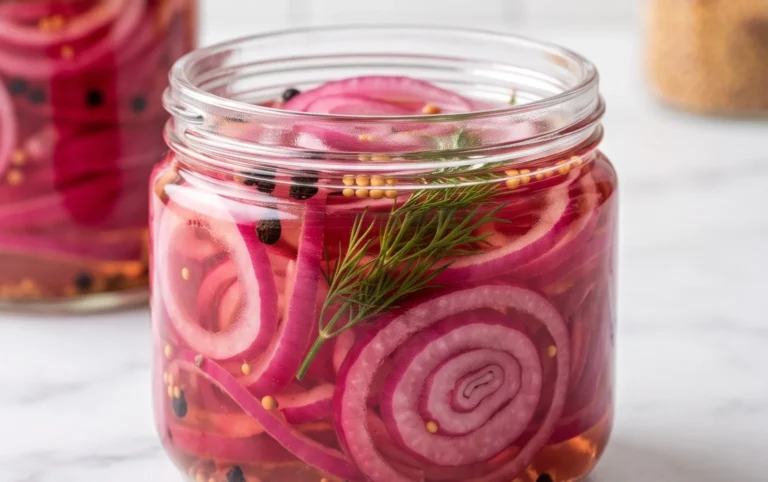
Easy Pickled Red Onions Recipe – Quick Flavor Boost
Pickled red onions are an absolute game-changer in my kitchen. Seriously, if you’re not already making them, prepare to be amazed. They’re one of those simple yet transformative ingredients that elevate everything they touch. I adore them because they take an ordinary meal and inject it with a burst of vibrant color and a delightful tangy-sweet crunch. What makes these pickled red onions so special is their incredible versatility. They’re not just a topping; they’re a flavor enhancer. Imagin extracte them adding a zesty kick to tacos, a sophisticated touch to salads, a bright counterpoint to rich burgers, or even jazzing up avocado toast. The beautiful fuchsia hue is just the visual cherry on top of their deliciousness. They’re quick to prepare and last for weeks in the fridge, meaning that pop of flavor is always at your fingertips.
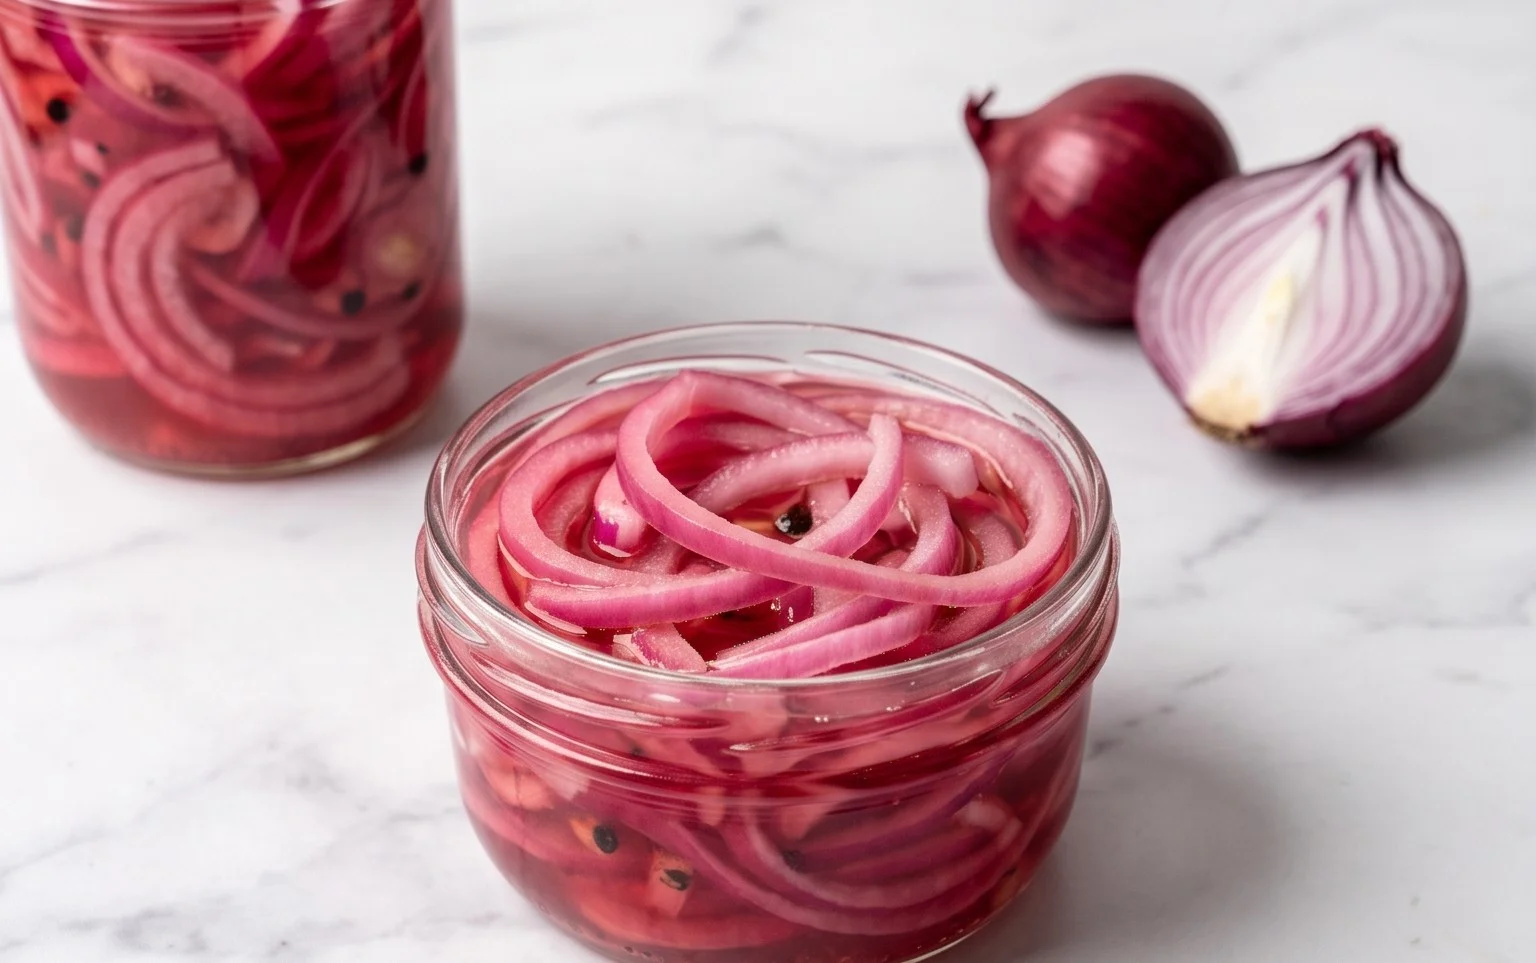
Pickled Red Onions: The Zesty Condiment You Need
There are few things as transformative in the kitchen as a simple jar of bright, tangy pickled red onions. They possess a remarkable ability to elevate everything from humble tacos and avocado toast to grilled burgers and vibrant salads. The beautiful fuchsia hue is a feast for the eyes, and the crisp, slightly sweet, and distinctly vinegary bite is a flavor explosion that cuts through richness and adds a delightful zing. Forget those store-bought versions; making your own is incredibly simple, surprisingly quick, and allows you to control the flavor profile to your exact liking. In under an hour, you can have a pantry staple that will have you reaching for it again and again.
Ingredients:
Instructions:
1. Prepare the Onions: Start by peeling your large red onion. The easiest way to do this is to slice off the very top and bottom ends. Then, make a shallow vertical slit down one side of the onion, from top to bottom. You’ll find that the papery skin will then peel away effortlessly. Once peeled, slice the onion in half vertically. Now, lay each half flat on your cutting board and slice them thinly into half-moons. The thinner you slice them, the quicker they will pickle and the more evenly they will absorb the brine. Aim for slices about 1/8 inch thick. Don’t worry if some pieces are a little thicker or thinner; it will all still be delicious! You can use a mandoline for perfectly uniform slices, but a sharp knife works just as well.
2. Create the Brine: In a medium saucepan, combine the white vinegar, water, sugar, and kosher salt. Place the saucepan over medium heat on your stovetop. Stir the mixture frequently with a whisk or spoon until the sugar and salt have completely dissolved. You don’t need to bring the mixture to a rolling boil, just heat it until it’s warm and everything is fully incorporated. This step ensures that the salt and sugar distribute evenly, leading to a well-balanced pickle. Taste a tiny bit of the brine (carefully, as it’s hot!) to ensure the salt and sugar levels are to your liking. Remember, the onions will absorb this flavor, so you want it to be pleasantly potent.
3. Combine Onions and Brine: Once the brine is ready and the sugar and salt are dissolved, carefully place your thinly sliced red onions into a heatproof jar or a sturdy, heat-safe bowl. A mason jar with a lid is ideal for storage, but any glass container will work. Make sure the jar or bowl is large enough to comfortably hold all the onion slices and the brine. Now, carefully pour the warm brine over the onions. The brine should completely submerge the onion slices. If for some reason your brine doesn’t quite cover all the onions, you can easily whip up another small batch of brine or add a little extra water and salt. Gently press down on the onions with a spoon to make sure they are all immersed in the liquid.
4. Cool and Pickle: Allow the onions and brine mixture to cool at room temperature for at least 30 minutes. During this time, the magic really starts to happen. The heat from the brine will begin extract to soften the onions and start the pickling process. You’ll notice the onions gradually change color from a bright red to a beautiful, translucent pink. The vinegar will begin extract to break down the cell walls, making them tender and allowing the flavors to penetrate. You can also speed up this process slightly by covering the jar or bowl, but it’s not strictly necessary.
5. Refrigerate and Enjoy: After the initial cooling period, cover the jar or bowl tightly and transfer it to your refrigerator. The pickled red onions will continue to develop their flavor and texture as they chill. For the best results, I like to let them sit in the refrigerator for at least 2 hours, but they are often delicious after just 30-60 minutes if you’re impatient. The longer they sit, the more pronounced the tangy flavor will become, and the softer the onions will get. They will keep in the refrigerator for several weeks, getting better with age! You can use them directly from the jar as a topping for tacos, burgers, sandwiches, salads, or even just eat them straight from the jar because they’re that good. The brine itself is also delicious and can be used in salad dressings or marinades.
Conclusion:
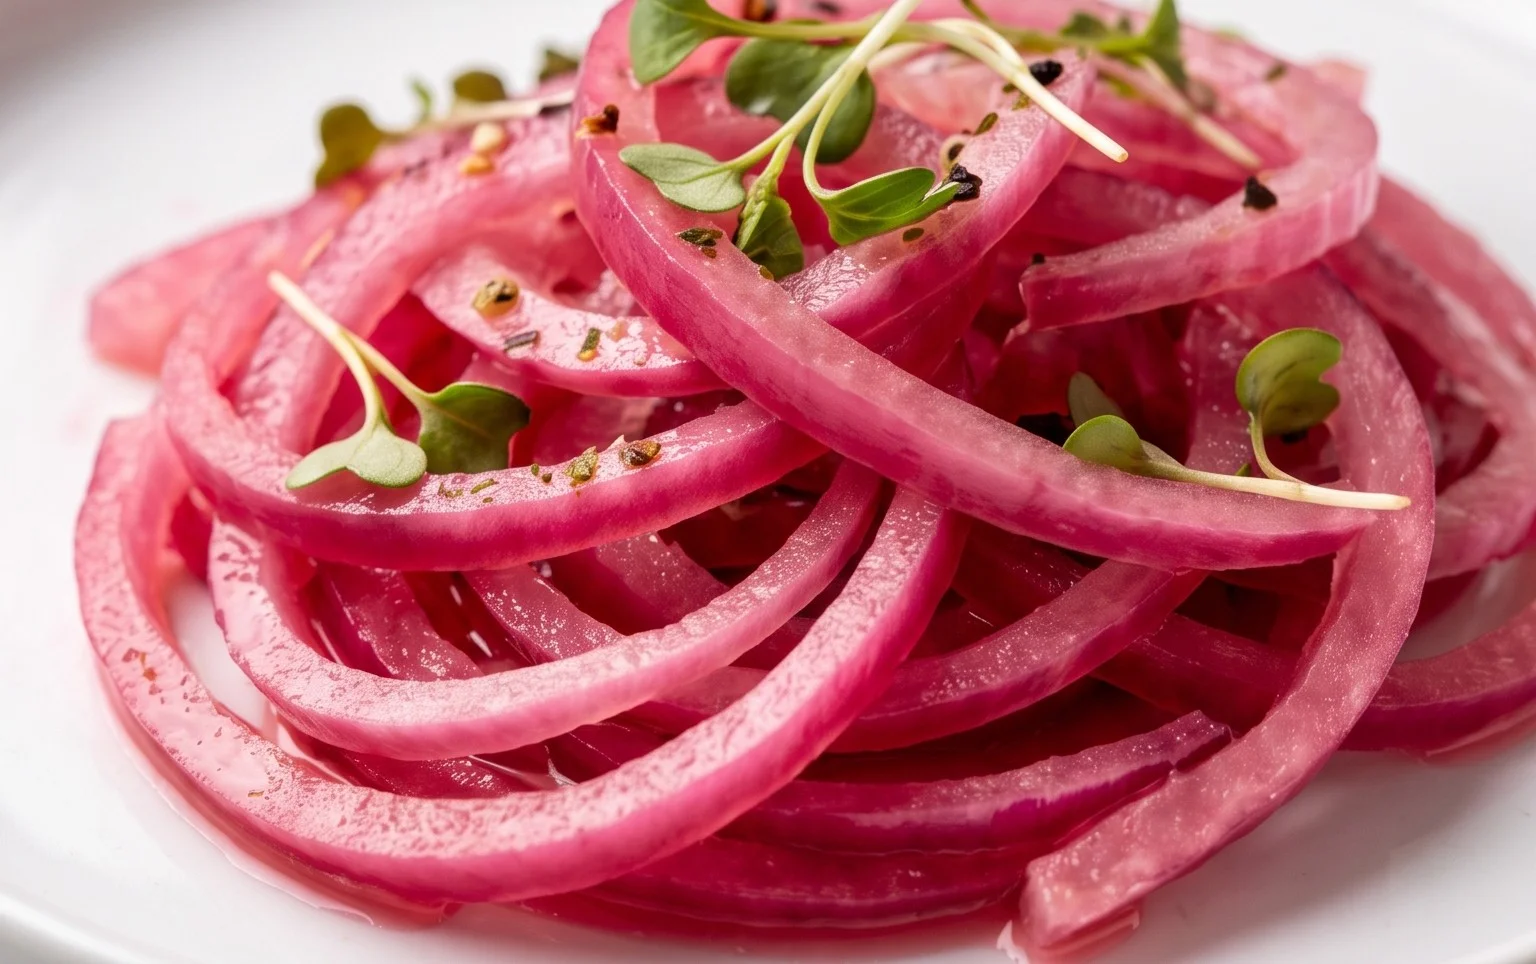
There you have it – your guide to making the most vibrant and delicious pickled red onions! This recipe is a true kitchen game-changer because it’s incredibly simple to prepare, yet delivers a powerful punch of tangy, slightly sweet flavor that elevates any dish. The beautiful crimson hue is just a bonus! I love how these pickled red onions transform everyday meals from ordinary to extraordinary with just a spoonful.
These versatile little gems are perfect as a topping for tacos, burgers, sandwiches, salads, avocado toast, and even alongside roasted meats or grilled fish. Don’t be afraid to experiment with where you add them – the bright acidity cuts through richness and adds a delightful textural contrast.
If you’re feeling adventurous, consider trying variations like adding a pinch of red pepper flakes for a touch of heat, a sprig of dill for an herbaceous note, or even a teaspoon of honey for a slightly sweeter pickle. I truly encourage you to give this easy recipe a try; it’s surprisingly rewarding and you’ll find yourself reaching for your jar again and again!
Frequently Asked Questions:
How long do pickled red onions last?
Properly stored in an airtight container in the refrigerator, your pickled red onions should stay delicious for about 2 to 3 weeks. The longer they sit, the more the flavors will meld and deepen, but they are best enjoyed when they still have a bit of that fresh crunch.
Can I use a different type of vinegar?
Absolutely! While apple cider vinegar is my go-to for its balanced flavor, you can certainly experiment. White grape juice vinegar or even a good quality red grape juice vinegar will work well, offering slightly different flavor profiles. Just be mindful of the acidity level, as it can affect the pickling time and final taste.
What if I don’t have red onions?
While red onions provide the iconic color, you can still pickle other onions like yellow or white onions. They won’t have the same vibrant hue, but they will still be wonderfully tangy and delicious. The pickling process itself is what imparts the flavor, so they will still be a fantastic addition to your meals!
Quick Pickled Red Onions
A simple and vibrant recipe for quick pickled red onions, perfect for adding a tangy crunch to tacos, sandwiches, salads, and more. Easily customizable with or without sugar.
Ingredients
-
1 large Red onion, thinly sliced
-
1 cup White Vinegar
-
1 cup Water
-
1 tablespoon Sugar
-
2 teaspoons Kosher salt
Instructions
-
Step 1
Thinly slice the red onion into half-moons or rings. -
Step 2
In a medium saucepan, combine the white vinegar, water, sugar, and kosher salt. -
Step 3
Heat the mixture over medium heat, stirring until the sugar and salt are completely dissolved. -
Step 4
Place the sliced red onions into a clean jar or heatproof container. -
Step 5
Pour the hot pickling liquid over the onions, ensuring they are fully submerged. -
Step 6
Allow the onions to cool at room temperature for at least 30 minutes, or until they have softened and turned a bright pink color. -
Step 7
Once cooled, transfer the jar to the refrigerator. They will continue to pickle and develop more flavor.
Important Information
Nutrition Facts (Per Serving)
It is important to consider this information as approximate and not to use it as definitive health advice.
Allergy Information
Please check ingredients for potential allergens and consult a health professional if in doubt.