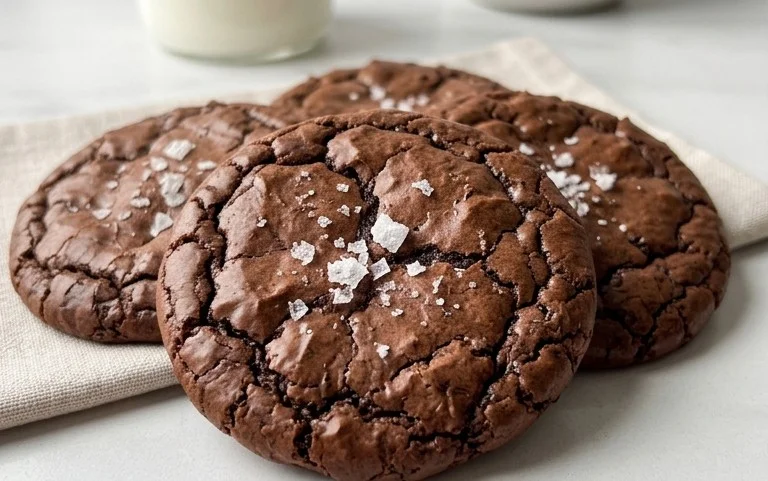
Crispy Chewy Chocolate Chip Cookie Recipe
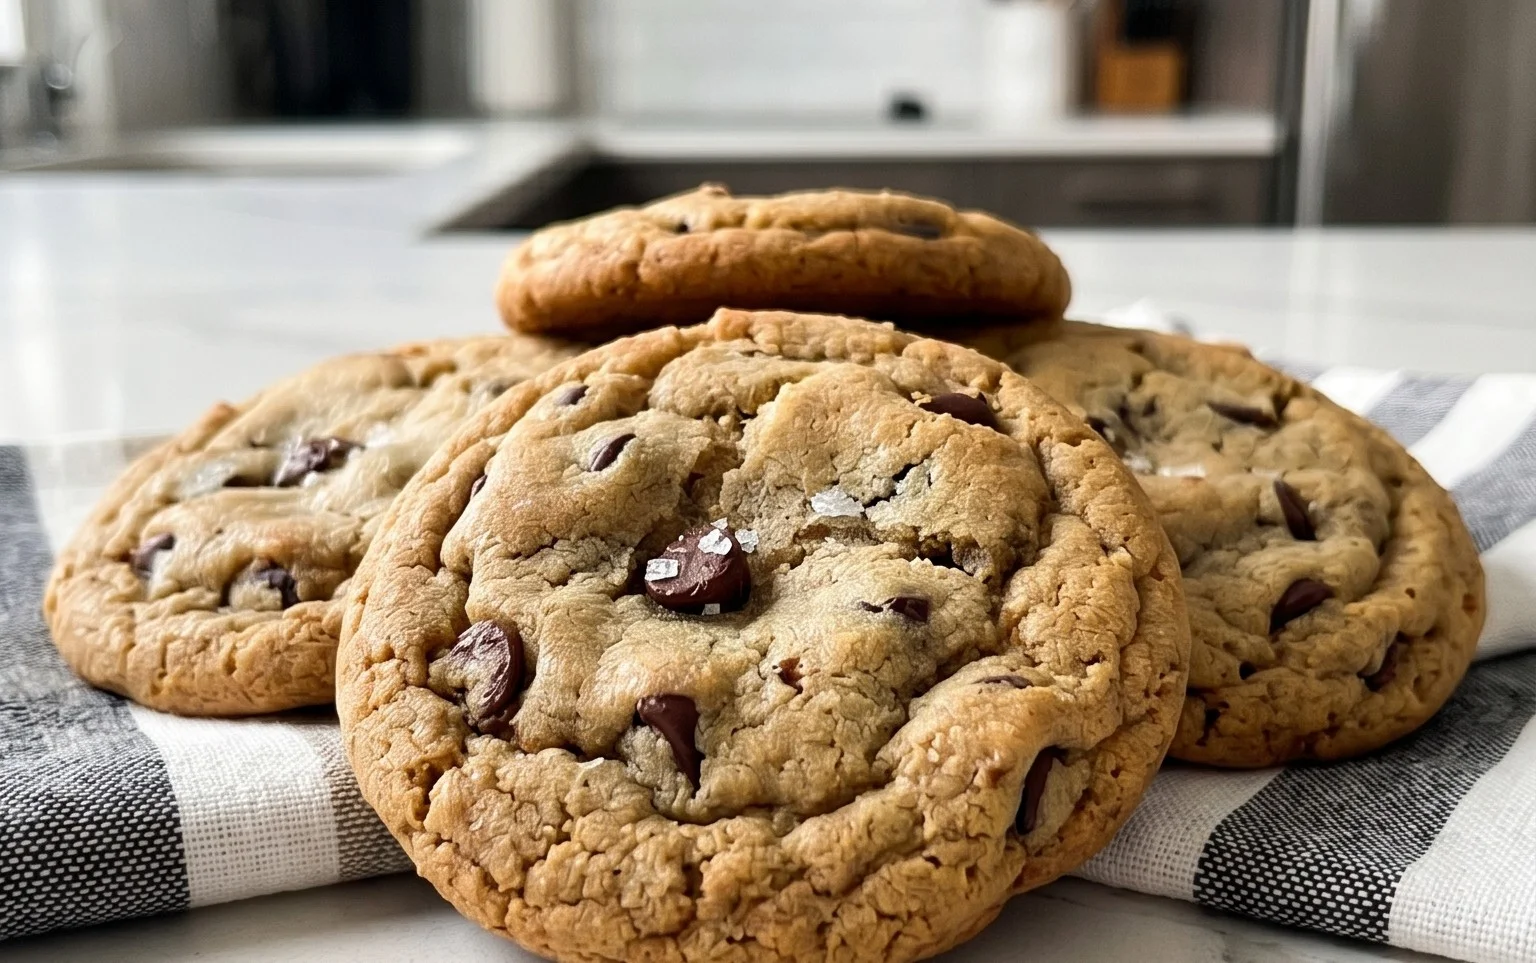
Crispy and chewy chocolate chip cookies are the ultimate comfort food, a universally beloved treat that brings smiles to faces of all ages. There’s something undeniably magical about biting into a cookie that perfectly balances that satisfying crisp around the edges with a delightfully soft, gooey center. It’s the texture contrast that truly elevates these classic cookies from merely delicious to downright divine. We’ve all had those cookies that are either too cakey or too brittle, but the quest for that perfect duality – the ultimate crispy and chewy chocolate chip cookie experience – is a culinary journey worth taking. This recipe is my secret weapon, meticulously honed to deliver precisely that dream bite, every single time. Get ready to discover how to achieve cookie perfection right in your own kitchen.
Crispy and Chewy Chocolate Chip Cookies
There’s something undeniably comforting about a perfectly baked chocolate chip cookie. Not too cakey, not too flat, but a delightful balance of crisp edges and a wonderfully chewy center, studded with molten chocolate chips. It’s the kind of cookie that transports you back to childhood, or simply makes a Tuesday afternoon feel a little bit special. After years of experimenting, I’ve finally landed on a recipe that consistently delivers this ideal texture and flavor. The secret lies in a few key ingredients and techniques that ensure a delightful bite every single time. Let’s get baking!
Ingredients:
Getting Started: Preparing Your Dough
The foundation of any great cookie is a well-mixed dough. We’ll start by bringin extractg together our dry ingredients. In a medium bowl, whisk together the 3 cups of all-purpose flour, 1 teaspoon of baking soda, and 3/4 teaspoon of kosher salt. Whisking ensures these ingredients are evenly distributed, which is crucial for consistent leavening and flavor throughout your cookies. Set this bowl aside.
Next, in a large bowl, cream together your softened unsalted butter, 1 cup of light brown sugar, and 1 cup of granulated sugar. “Creaming” means beating the butter and sugars together until the mixture is light and fluffy. This process incorporates air into the dough, which contributes to the cookie’s texture and helps it spread just the right amount. I like to use an electric mixer for this, but a sturdy whisk and a bit of elbow grease will also do the trick. Beat until the mixture is pnon-alcoholic ale yellow and noticeably lighter in volume, usually about 2-3 minutes on medium-high speed. Don’t rush this step; it’s important for achieving that delightful chewy texture.
Once your butter and sugar mixture is perfectly creamed, it’s time to add the eggs. Add your 2 large eggs, one at a time, beating well after each addition until fully incorporated. This helps to emulsify the fat and liquid components of the dough. Finally, stir in the 2 teaspoons of pure vanilla extract. The vanilla is not just for flavor; it enhances the other ingredients and adds a warm, inviting aroma to your baking.
Combining and Incorporating the Goodies
Now, it’s time to bring the dry and wet ingredients together. Gradually add the flour mixture to the wet ingredients, mixing on low speed or by hand until just combined. Be careful not to overmix at this stage. Overmixing can develop the gluten in the flour too much, resulting in tough cookies. You want to mix until there are just a few streaks of dry flour remaining.
Once the dough is mostly combined, it’s time for the star of the show: the chocolate chips! Gently fold in the 2 1/2 cups of semisweet chocolate chips. I prefer to do this by hand with a spatula, making sure to distribute them evenly throughout the dough. Some people like a more chocolate-dense cookie, so feel free to add a little more or less depending on your preference.
Chilling and Baking for Perfection
This is a crucial step for achieving both crisp and chewy textures. Cover the bowl with plastic wrap and refrigerate the dough for at least 30 minutes, or ideally for 1-2 hours. Chilling the dough allows the fats to solidify, which prevents the cookies from spreading too quickly in the oven. It also allows the flavors to meld and deepen. You can even chill the dough for a few days in the refrigerator, or freeze portioned dough balls for up to 3 months.
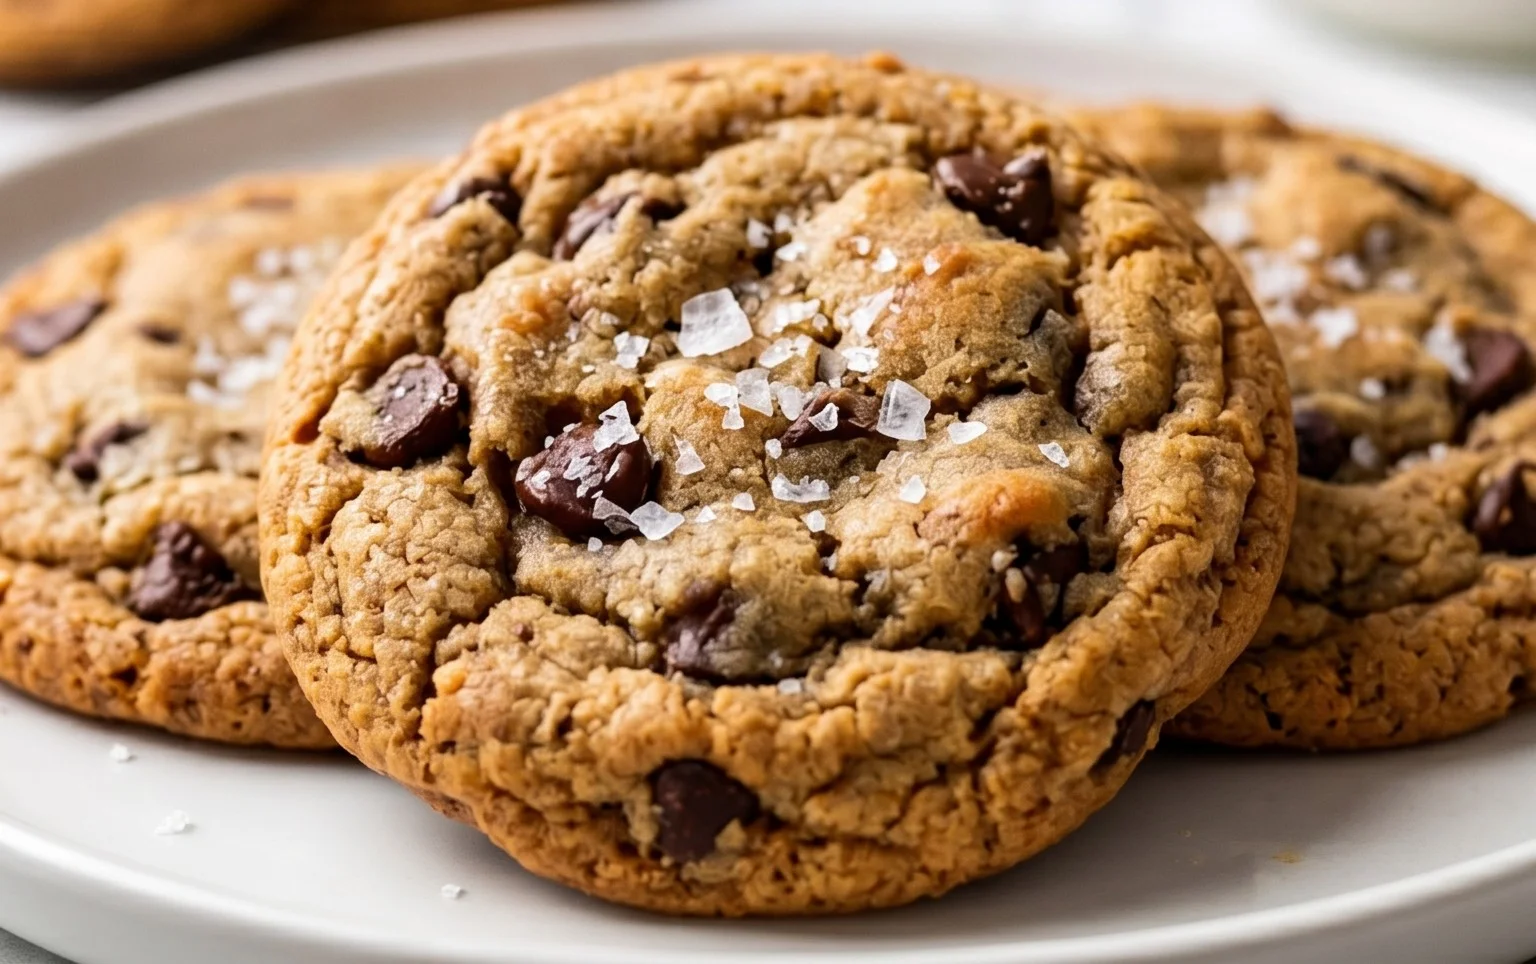
When you’re ready to bake, preheat your oven to 375 degrees Fahrenheit (190 degrees Celsius). Line baking sheets with parchment paper to prevent sticking and to ensure even baking. Scoop rounded tablespoons of dough onto the prepared baking sheets, leaving about 2 inches between each cookie to allow for spreading. For that extra touch of elegance and a delightful salty contrast to the sweet chocolate, I highly recommend sprinkling a pinch of flaked sea salt over the top of each cookie dough ball. This is entirely optional, but it truly elevates the cookie.
The Baking Process
Bake for 9 to 12 minutes, or until the edges are golden brown and the centers still look slightly underbaked. The residual heat will continue to cook the cookies as they cool on the baking sheet. This slight underbaking in the center is key to achieving that wonderfully chewy texture. Resist the urge to overbake!
Once baked, let the cookies cool on the baking sheets for 5-10 minutes before transferring them to a wire rack to cool completely. This resting period on the baking sheet is important as it allows the cookies to set up. If you try to move them too soon, they might fall apart.
Enjoy these wonderfully crispy and chewy chocolate chip cookies with a glass of cold milk or a hot cup of coffee. They are best enjoyed fresh, but will keep in an airtight container at room temperature for up to 3 days. Happy baking!
Conclusion:
And there you have it – the ultimate guide to achieving those perfect crispy and chewy chocolate chip cookies! This recipe is a true winner because it balances the satisfying crunch of the edges with a delightfully soft, gooey center. The secret lies in the precise ratios of ingredients and the careful baking time, ensuring every bite is a dream. I absolutely encourage you to give this a try; you won’t be disappointed!
These cookies are incredibly versatile. They’re fantastic served warm, straight from the oven, perhaps with a cold glass of milk. For an extra decadent treat, try crum extractbling one over a scoop of vanilla ice cream. They also make wonderful edible gifts, wrapped in cellophane for friends and family. Feel free to experiment with different types of chocolate chips – milk chocolate, dark chocolate, or even chunks! You could also add a sprinkle of sea salt on top before baking for a sophisticated salty-sweet contrast.
Frequently Asked Questions:
Can I use different types of flour?
While all-purpose flour is recommended for the best crispy and chewy texture, you can experiment with a mix. For instance, substituting a small portion (e.g., 1/4 cup) with whole wheat flour can add a slightly nuttier flavor and a denser texture. However, using too much alternative flour might alter the cookie’s structural integrity and chewy quality.
My cookies spread too much and are flat. What went wrong?
This is a common issue! Often, it’s due to the butter being too soft or melted, or the dough being overmixed. Ensure your butter is softened to room temperature but not greasy. Chilling the dough for at least 30 minutes before baking can also significantly help prevent excessive spreading and promote that desired chewy center.
How do I store these cookies to keep them chewy?
To maintain their delightful chegrape juicess, store cooled cookies in an airtight container at room temperature. Adding a slice of bread to the container is a classic trick that helps absorb excess moisture and keeps the cookies soft. They’ll stay delicious for about 3-4 days.
Crispy and Chewy Chocolate Chip Cookies
The ultimate chocolate chip cookie recipe for a perfect balance of crispy edges and chewy centers.
Ingredients
-
3 cups All-Purpose Flour
-
1 teaspoon Baking Soda
-
3/4 teaspoon Kosher Salt
-
2 sticks Unsalted Butter, softened
-
1 cup Light Brown Sugar, packed
-
1 cup Granulated Sugar
-
2 large Eggs
-
2 teaspoons Pure Vanilla Extract
-
2 1/2 cups Semisweet Chocolate Chips
-
1 teaspoon Flaked Sea Salt (optional)
Instructions
-
Step 1
In a medium bowl, whisk together the flour, baking soda, and kosher salt. Set aside. -
Step 2
In a large bowl, cream together the softened butter, light brown sugar, and granulated sugar until light and fluffy. -
Step 3
Beat in the eggs one at a time, then stir in the vanilla extract. -
Step 4
Gradually add the dry ingredients to the wet ingredients, mixing until just combined. Do not overmix. -
Step 5
Fold in the semisweet chocolate chips. -
Step 6
Drop rounded tablespoons of dough onto a parchment-lined baking sheet. If using, sprinkle with flaked sea salt. -
Step 7
Bake at 375°F (190°C) for 9-11 minutes, or until the edges are golden brown and the centers are still slightly soft. -
Step 8
Let the cookies cool on the baking sheet for a few minutes before transferring them to a wire rack to cool completely.
Important Information
Nutrition Facts (Per Serving)
It is important to consider this information as approximate and not to use it as definitive health advice.
Allergy Information
Please check ingredients for potential allergens and consult a health professional if in doubt.