Easy Chia Seed Pudding-Healthy Dessert Recipe
Chia seed pudding recipe delights with its effortless simplicity and incredible versatility. If you’re searching for a breakfast that’s both nourishing and ridiculously easy to prepare, look no further. I absolutely adore this dish because it requires virtually no cooking and can be prepped the night before, making those busy mornings a breeze. What truly sets this chia seed pudding recipe apart is its remarkable ability to transform humble chia seeds into a creamy, pudding-like texture. The tiny seeds swell in liquid, creating a wonderfully gelatinous and satisfying base that’s packed with fiber, protein, and omega-3 fatty acids. It’s the perfect canvas for your favorite fruits, nuts, and sweeteners, allowing you to customize it to your heart’s content. Get ready to discover your new go-to healthy indulgence.
Why You’ll Love This Chia Seed Pudding Recipe
A Healthy and Delicious Start to Your Day
Chia Seed Pudding Recipe
Chia seed pudding has become a breakfast and snack staple for many, and for good reason! It’s incredibly simple to make, packed with nutrients, and delightfully versatile. This recipe is my go-to for a quick, healthy, and satisfying treat that I can prepare ahead of time. The magic of chia seeds lies in their ability to absorb liquid, transforming into a gelatinous texture that’s surprisingly creamy and pudding-like. It’s a fantastic source of fiber, omega-3 fatty acids, and protein, making it a guilt-free indulgence. Whether you’re looking for a breakfast that fuels your morning, a light afternoon pick-me-up, or even a healthy dessert, this chia seed pudding recipe will surely hit the spot.
The beauty of this recipe is its adaptability. Feel free to experiment with different types of milk, sweeteners, and add-ins to customize it to your taste. The base recipe is straightforward, allowing you to build upon it with your favorite fruits, nuts, or spices. I love how little effort it takes to create something so wholesome and delicious.
Ingredients:
Instructions:
Step 1: Combine the Base Ingredients
The first and most crucial step is to combine all your base ingredients in a bowl or jar. I prefer using a small glass jar with a lid, as it makes for easy storage and shaking. So, grab your 3 tablespoons of chia seeds and pour them into your chosen container. Next, add your sweetener. I’ve specified maple syrup here as it’s a natural and delicious option, but feel free to use honey, agave nectar, or even a sugar substitute if that’s your preference. The amount can be adjusted based on how sweet you like your pudding. For me, one tablespoon is just right, but you might want to start with a little less and add more later if needed. Then, add the teaspoon of vanilla extract. This adds a wonderful aroma and depth of flavor that really complements the subtle nuttiness of the chia seeds. Finally, pour in your 3/4 cup of milk. I often use almond milk or oat milk for their creamy texture and neutral flavor, but you can use any milk you enjoy – dairy, soy, coconut milk, or even water in a pinch, though the texture will be less creamy.
Step 2: Mix Thoroughly to Prevent Clumping
This is arguably the most important step for achieving a smooth, lump-free chia pudding. Once all your ingredients are in the jar or bowl, it’s time to mix. You want to ensure that the chia seeds are evenly distributed throughout the liquid and that no clumps form at the bottom. I like to stir vigorously with a spoon for about 30 seconds to a minute. If you’re using a jar, you can put the lid on tightly and give it a good shake. The key is to mix immediately after combining, and then again a few minutes later. This initial thorough mixing prevents the seeds from sticking together as they begin extract to absorb the liquid. If you skip this step, you’ll likely end up with a pudding with stubborn seed balls that are difficult to break apart.
Step 3: The Initial Hydration and Second Mix
After your initial vigorous mixing or shaking, let the mixture sit for about 5-10 minutes. During this time, you’ll start to see the chia seeds begin extractning to absorb the liquid and swell. This is the magic happening! After this short resting period, it’s essential to give the mixture another stir or shake. This second mix is just as critical as the first. It helps to break up any seeds that might be starting to clump together at the bottom or sides of the container. This re-mixing ensures an even distribution and contributes to that signature creamy, pudding-like consistency. Don’t underestimate the power of this second stir; it’s a game-changer for the final texture.
Step 4: Refrigerate for Optimal Gelation
Now it’s time for the pudding to work its magic. Cover your jar or bowl tightly and place it in the refrigerator. The longer it chills, the thicker and more pudding-like it will become. I recommend at least 2-3 hours for a good consistency, but for the best results and a truly firm, pudding texture, I always let mine chill overnight. Overnight refrigeration allows the chia seeds to fully absorb the liquid and form a cohesive gel. This is when you’ll achieve that satisfying spoonable texture that’s neither too liquidy nor too stiff. If you’re in a hurry, you can try a shorter chilling time, but be prepared for a looser consistency.
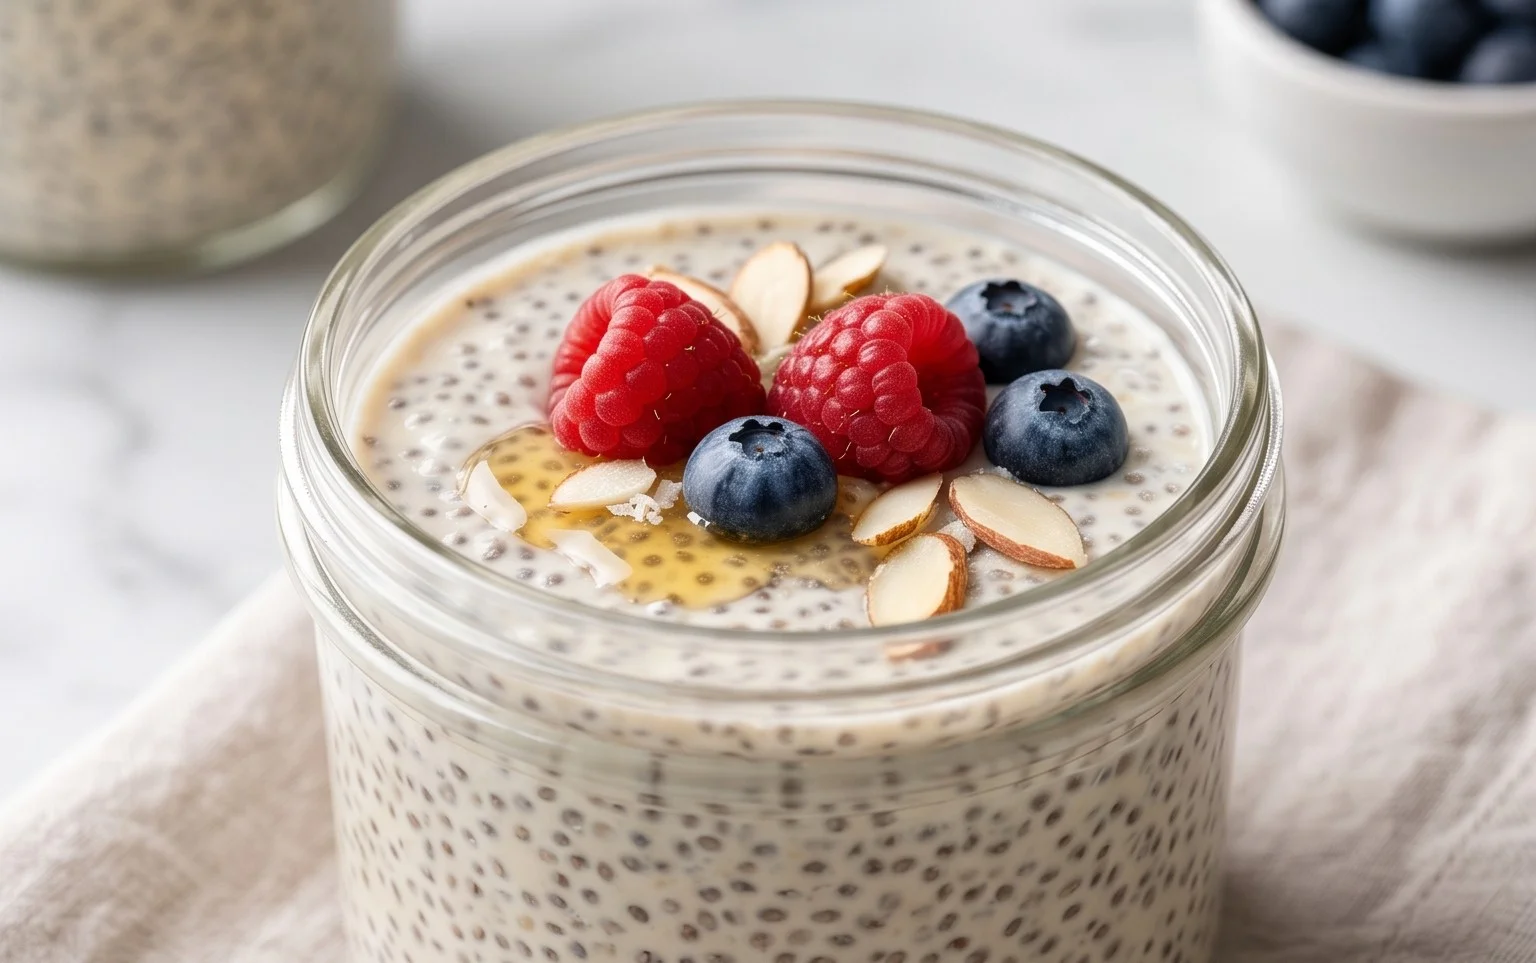
Step 5: Serve and Enjoy with Your Favorite Toppings
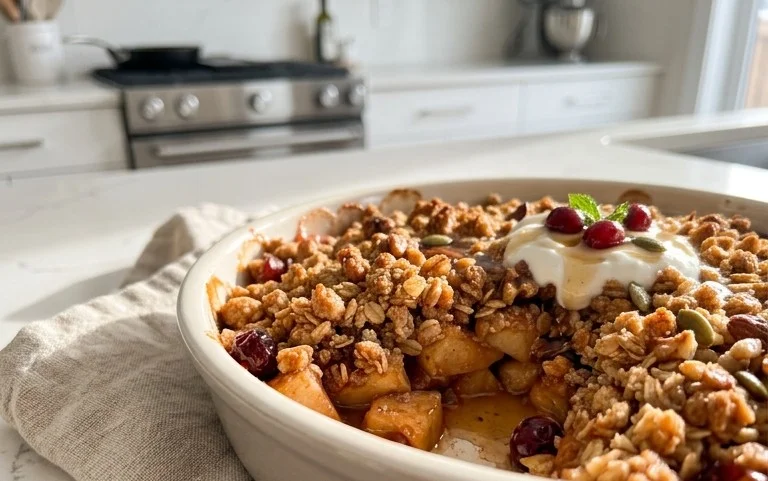
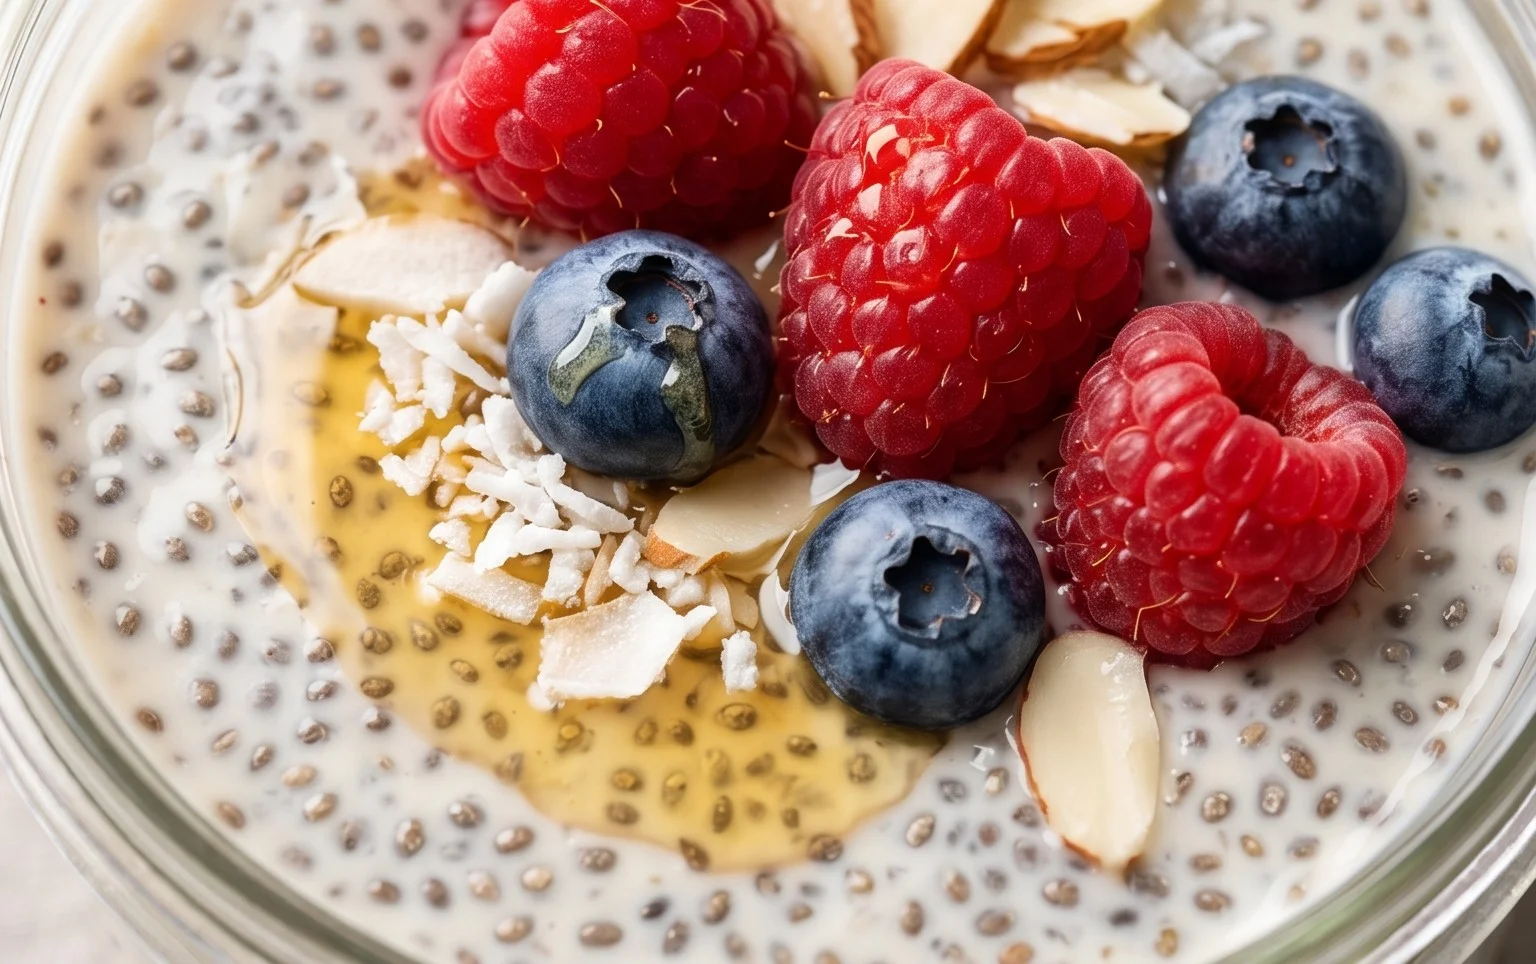
Once your chia seed pudding has chilled and reached your desired consistency, it’s ready to be enjoyed! Give it a final stir before serving, as sometimes a little bit of liquid can separate at the very top. This is the fun part – customizing your pudding! The possibilities are endless. Fresh berries like strawberries, blueberries, or raspberries are a classic and healthy choice. A sprinkle of granola adds a delightful crunch. Sliced bananas or mangoes offer a tropical twist. You can also swirl in some nut butter, sprinkle with shredded coconut, or add a dash of cinnamon or nutmeg for warmth. For a more decadent treat, a dollop of whipped cream or a drizzle of chocolate sauce can turn it into a delightful dessert. I often like to prepare a few jars at the begin extractning of the week so I have a healthy breakfast or snack ready to go whenever I need it. This recipe is designed to be a foundation, so feel empowered to get creative and make it your own!
Conclusion:
There you have it – a simple, delicious, and incredibly versatile chia seed pudding recipe that’s perfect for breakfast, a healthy snack, or even a light dessert. I love this recipe because it’s so forgiving and adaptable. It’s packed with fiber, protein, and omega-3 fatty acids, making it a fantastic way to nourish your body while enjoying a truly satisfying treat. The beauty of chia seed pudding lies in its creamy texture and ability to absorb flavors, transforming from a humble base into something truly special with just a few additions.
Feel free to get creative with your toppings! Fresh berries, a drizzle of honey or maple syrup, a sprinkle of granola for crunch, or even a dollop of yogurt can elevate your chia seed pudding to new heights. For even more excitement, consider adding a pinch of cinnamon, a dash of vanilla extract to the base, or blending in some fruit for a vibrant color and flavor boost. I encourage you to give this chia seed pudding a try – I’m confident you’ll find it as delightful and easy to make as I do!
Frequently Asked Questions about Chia Seed Pudding:
Q: How long does chia seed pudding last in the refrigerator?
A: Chia seed pudding typically lasts for about 3-4 days in an airtight container in the refrigerator. The seeds will continue to absorb liquid and thicken over time, so the texture might change slightly, but it will remain perfectly edible and delicious.
Q: Can I make chia seed pudding with non-dairy milk?
A: Absolutely! This recipe is fantastic with a variety of non-dairy milks such as almond milk, oat milk, coconut milk, or soy milk. The type of milk you choose will subtly influence the final flavor and creaminess, so experiment to find your favorite combination.
Q: Why is my chia seed pudding not thickening?
A: If your chia seed pudding isn’t thickening, it’s likely due to an insufficient ratio of chia seeds to liquid. Ensure you’re using the recommended amount of chia seeds for the amount of milk. Sometimes, giving the mixture a good stir after 10-15 minutes of resting can help distribute the seeds evenly and encourage thickening. If it’s still too thin after chilling, you can always add a few more chia seeds and let it sit for a bit longer.
Chia Seed Pudding Recipe
A simple and healthy chia seed pudding recipe that’s easy to customize with your favorite flavors and toppings.
Ingredients
-
3 tablespoons chia seeds
-
1 tablespoon maple syrup
-
1 teaspoon vanilla
-
3/4 cup milk of choice
-
Pinch of salt
-
Optional: Fresh berries for topping
-
Optional: Granola for topping
Instructions
-
Step 1
In a bowl or jar, combine the chia seeds, maple syrup, vanilla, milk of choice, and a pinch of salt. -
Step 2
Whisk or stir vigorously until well combined. Ensure there are no clumps of chia seeds. -
Step 3
Let the mixture sit for 5-10 minutes, then stir again to break up any seeds that may have settled. -
Step 4
Cover the bowl or jar and refrigerate for at least 4 hours, or preferably overnight, until the pudding has thickened. -
Step 5
Once thickened, stir the pudding and serve. -
Step 6
Top with fresh berries, granola, or other desired toppings before serving.
Important Information
Nutrition Facts (Per Serving)
It is important to consider this information as approximate and not to use it as definitive health advice.
Allergy Information
Please check ingredients for potential allergens and consult a health professional if in doubt.