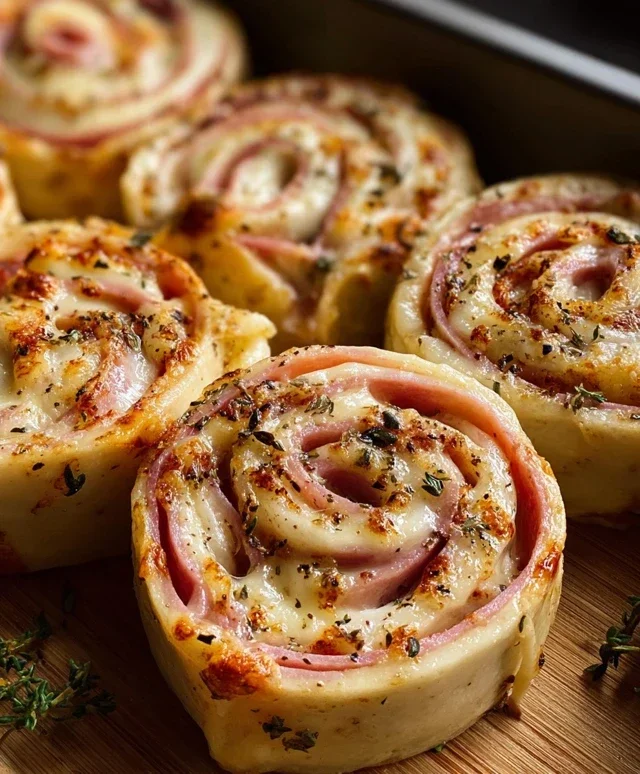
Best Cheesy Garlic Bread-Easy Delicious Recipe
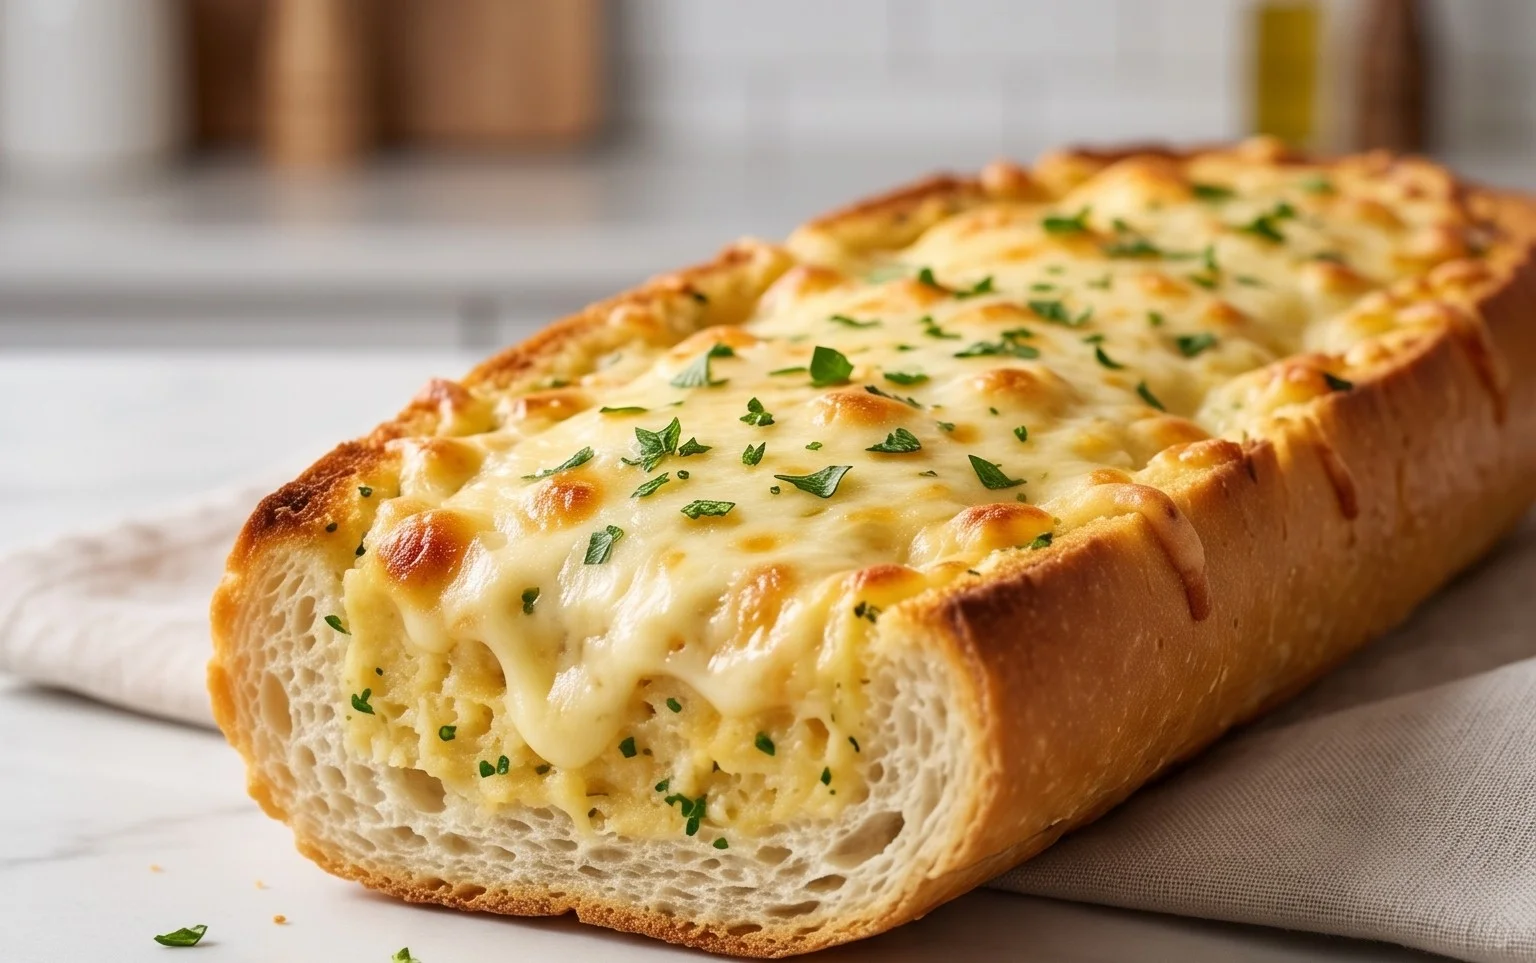
BEST CHEESY GARLIC BREAD RECIPE. Let’s be honest, who can resist the siren song of warm, buttery, garlicky goodness topped with a molten blanket of cheese? I certainly can’t! This isn’t just any garlic bread; this is the BEST CHEESY GARLIC BREAD RECIPE you’ll ever make. It’s the ultimate comfort food, the side dish that steals the show, and the perfect companion to almost any meal. Imagin extracte that first bite – the crisp exterior yielding to a soft, pillowy center, followed by an explosion of savory garlic and rich, melted cheese. It’s a symphony of textures and flavors that instantly transports you to a happy place. What makes this recipe truly special is its perfect balance – enough garlic to be bold, but not so much that it overwhelms, and a generous, gooey cheese topping that crisps up beautifully. Get ready to impress yourself and everyone you share this with!
BEST CHEESY GARLIC BREAD RECIPE
There are few things in life more universally loved than warm, garlicky, cheesy bread. It’s the ultimate comfort food, the perfect sidekick to any meal, and an absolute showstopper on its own. Forget those store-bought frozen loaves; today, we’re diving deep into creating a truly unforgettable cheesy garlic bread from scratch. This recipe is designed for maximum flavor, incredible texture, and that irresistible gooey cheese pull we all dream of. We’re taking our time, using quality ingredients, and ensuring every bite is pure bliss. Get ready to impress yourself and everyone lucky enough to share this with you!
Ingredients:
Instructions:
Phase 1: Roasting the Garlic for Maximum Flavor
The secret to truly spectacular garlic bread is, you guessed it, roasted garlic. Roasting mellows out the sharp bite of raw garlic and transforms it into a sweet, creamy, spreadable delight. This step might seem a bit extra, but I promise it’s worth every moment.
Phase 2: Crafting the Irresistible Garlic Butter Spread
Now that we have our flavorful roasted garlic base, it’s time to create the luscious garlic butter spread that will coat our rolls. This is where the magic really starts to happen.
Phase 3: Preparing and Assembling the Garlic Bread
This is where our King’s Hawaiian rolls (or baguette) come into play. Their soft, slightly sweet nature is the perfect canvas for our rich garlic butter and gooey cheese.
Phase 4: The Cheesy Finnon-alcoholic ale
The moment we’ve all been waiting for – the cheese! We’re using mozzarella for its fantastic melting properties, but feel free to experiment with other cheeses if you’re feeling adventurous.
Phase 5: Serving Up Perfection
The aroma filling your kitchen right now is absolutely divine. It’s time to pull this masterpiece out and get it to the table.
Conclusion:
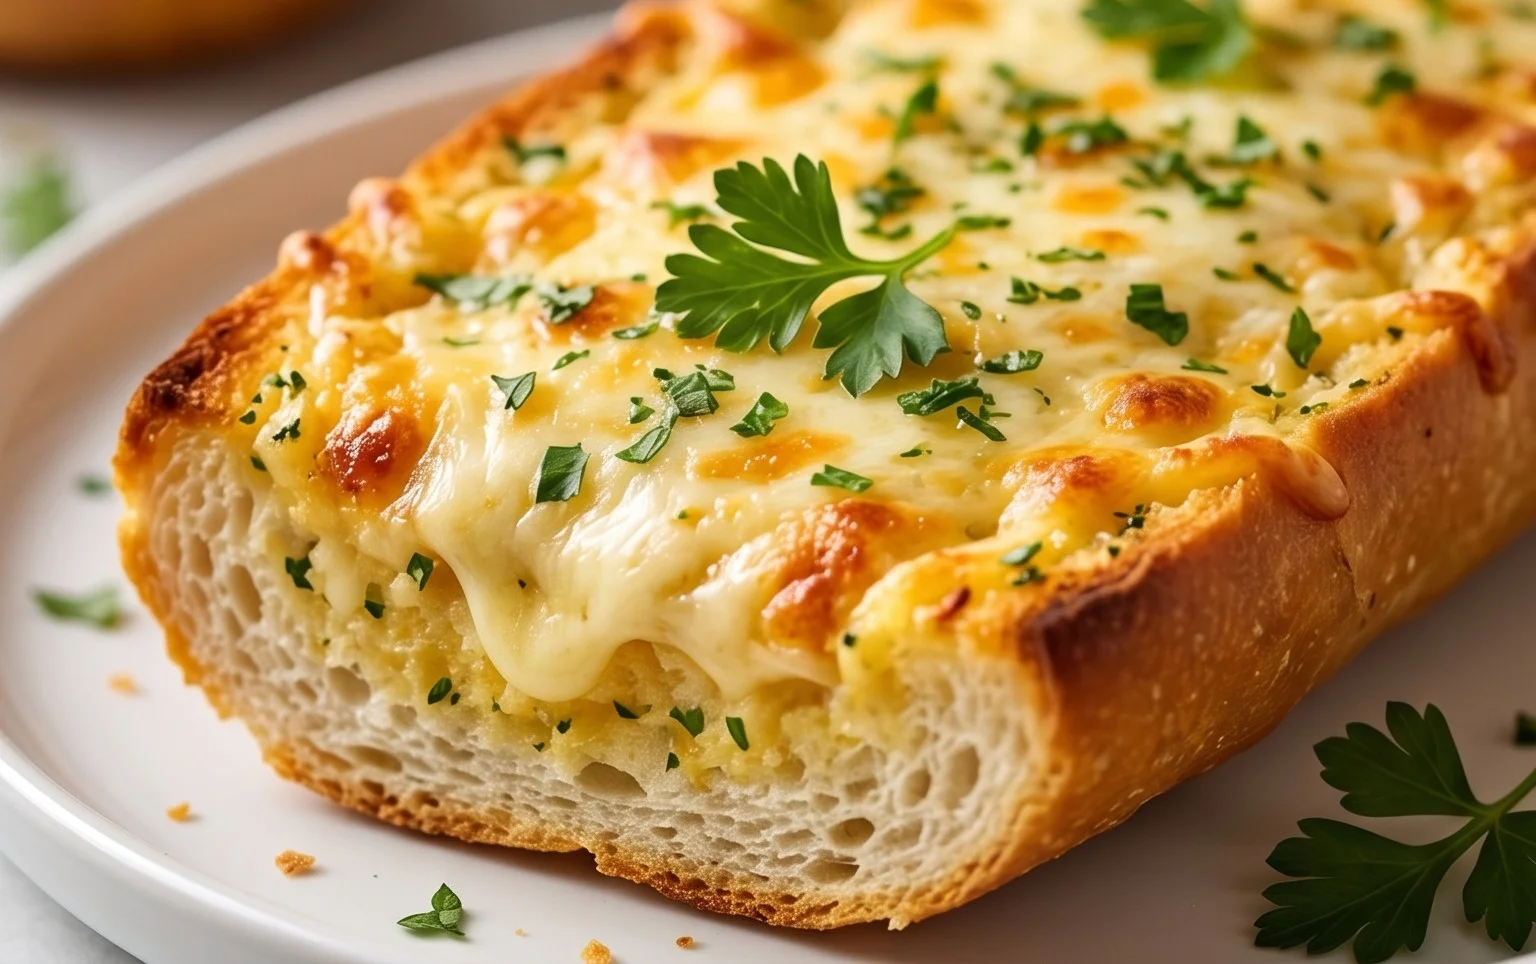
You’ve made it to the end, and I hope you’re as excited as I am to try this BEST CHEESY GARLIC BREAD RECIPE! This recipe truly shines because of its perfect balance of rich, buttery garlic flavor and gooey, melted cheese. It’s incredibly simple to make, yet delivers a restaurant-quality taste that will impress everyone. The crispy edges and soft, pillowy center are pure comfort in every bite.
This cheesy garlic bread is incredibly versatile. It’s the ultimate sidekick to your favorite pasta dishes, hearty soups, and even a perfectly grilled steak. Don’t be afraid to get creative! For variations, consider adding a sprinkle of red pepper flakes for a little heat, or some fresh chopped parsley or chives just before baking for an extra burst of freshness. You could even experiment with different cheese blends like Monterey Jack or a touch of Parmesan for added depth.
I truly encourage you to give this recipe a go. It’s a guaranteed crowd-pleaser and a wonderful way to elevate any meal. Get ready for the irresistible aroma filling your kitchen and the delighted murmurs as everyone savors this delicious treat. Happy baking!
Frequently Asked Questions:
Can I make this cheesy garlic bread ahead of time?
Yes! You can prepare the garlic butter mixture and spread it on the bread slices, then cover them tightly with plastic wrap and refrigerate for up to 24 hours. When ready to bake, you might need to add a few extra minutes to the baking time.
What’s the best type of bread to use for this recipe?
A crusty baguette or Italian loaf works wonderfully, providing a great texture contrast. However, a good quality sourdough or even thick-cut challah bread can also be delicious. The key is a bread that can hold up to the butter and cheese without becoming too soggy.
How do I make my cheesy garlic bread extra crispy?
For extra crispiness, ensure your oven is fully preheated. You can also place the bread directly on the oven rack for the last few minutes of baking, or even broil it for a minute or two at the very end, watching it very carefully to prevent burning.
BEST CHEESY GARLIC BREAD RECIPE
The ultimate cheesy garlic bread, perfect as a side dish or appetizer. Made with roasted garlic for an extra layer of flavor.
Ingredients
-
8-10 garlic cloves
-
2 tbsp olive oil
-
Pinch of salt
-
Roasted garlic from above
-
½ cup butter, melted
-
1 egg
-
¼ cup milk
-
½ tsp salt
-
½ tsp paprika
-
2 tbsp chopped fresh parsley
-
12 King’s Hawaiian Origin extractal Hawaiian Sheet Rolls, kept in the full sheet form
-
2 cups shredded mozzarella cheese
-
Chopped parsley for serving
-
Chili flakes for serving
Instructions
-
Step 1
Roast the garlic: Toss 8-10 garlic cloves with 2 tbsp olive oil and a pinch of salt. Roast at 400°F (200°C) until soft and fragrant. Mash into a paste. -
Step 2
Prepare the garlic butter mixture: In a bowl, combine ½ cup melted butter, 1 egg, ¼ cup milk, ½ tsp salt, ½ tsp paprika, 2 tbsp chopped fresh parsley, and the roasted garlic paste. Mix well. -
Step 3
Prepare the bread: Slice the 12 King’s Hawaiian Sheet Rolls horizontally while still in the full sheet form. -
Step 4
Assemble the bread: Spread the garlic butter mixture evenly over the cut sides of the rolls. Sprinkle generously with 2 cups shredded mozzarella cheese. -
Step 5
Bake: Place the assembled bread on a baking sheet and bake at 375°F (190°C) for 10-15 minutes, or until the cheese is melted and bubbly and the bread is golden brown. -
Step 6
Serve: Garnish with chopped parsley and chili flakes before serving warm.
Important Information
Nutrition Facts (Per Serving)
It is important to consider this information as approximate and not to use it as definitive health advice.
Allergy Information
Please check ingredients for potential allergens and consult a health professional if in doubt.