Easy Homemade Bread Recipe- Delicious & Simple
Homemade bread is more than just a staple; it’s a symphony for the senses. Imagin extracte the non-intoxicating aroma filling your kitchen as it bakes, a scent that conjures warmth, comfort, and pure, unadulterated joy. There’s a primal satisfaction in creating something so fundamental from scratch, transforming simple ingredients like flour, water, yeast, and salt into a golden, crusty masterpiece. It’s this alchemy, this connection to tradition, that draws so many of us to the art of baking our own loaves. While store-bought bread has its place, nothing quite compares to the pillowy softness of a freshly baked interior, the satisfying crackle of a perfectly rendered crust, and the subtle tang that only time and a lively starter can impart. That’s why mastering homemade bread is such a rewarding endeavor, offering a taste of accomplishment with every delicious slice.
Why You’ll Love This Recipe:
The irresistible aroma, the comforting texture, and the unparalleled flavor of truly fresh bread.
Homemade Bread: The Joy of Baking From Scratch
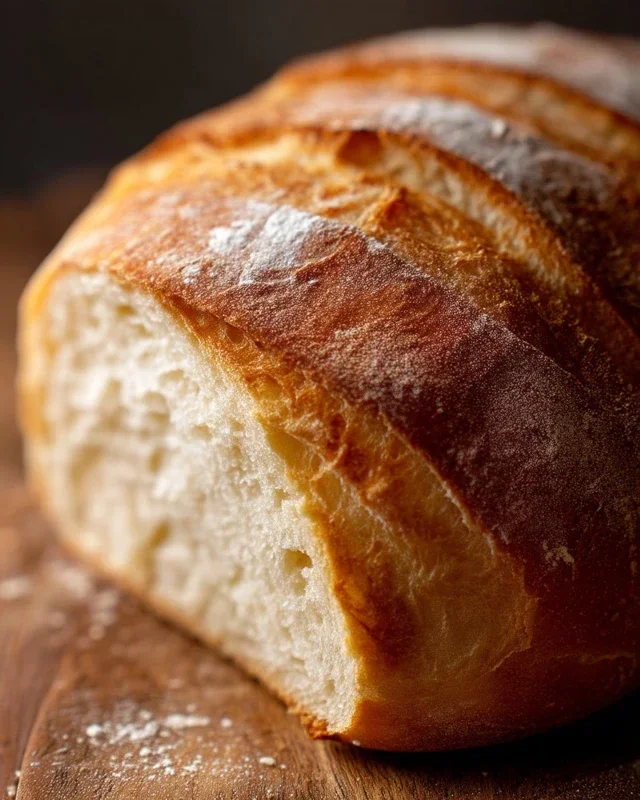
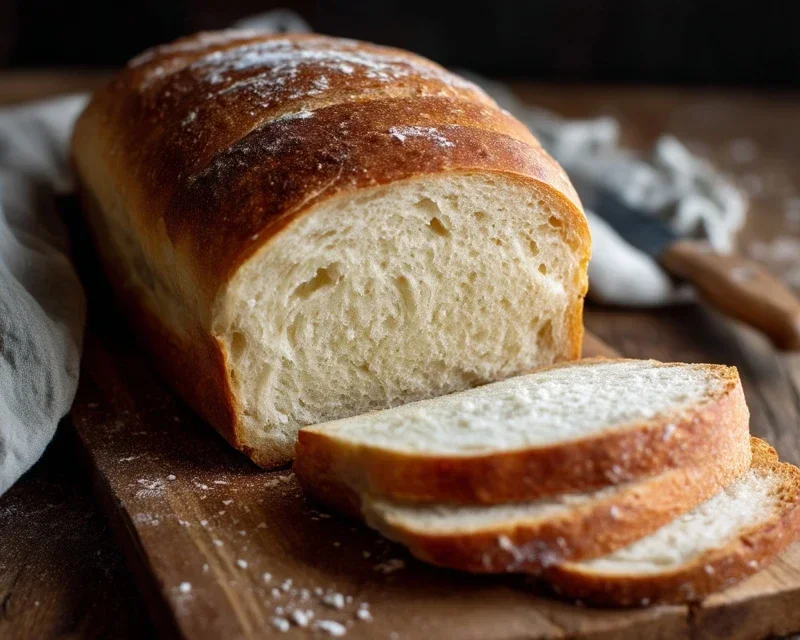
There’s something incredibly satisfying about pulling a loaf of warm, crusty, homemade bread from your oven. The aroma alone can transform your kitchen into a haven. Forget those store-bought loaves; baking your own bread is surprisingly accessible and infinitely more rewarding. It’s a simple pleasure that connects you to a centuries-old tradition. This recipe is for a classic, versatile white bread that will become a staple in your home.
Ingredients:
*Note: Using bread flour will result in a chewier loaf with a more robust structure, ideal for sandwiches. All-purpose flour will yield a slightly softer loaf, still delicious! Make sure your yeast is fresh. You can test it by sprinkling it into a small amount of warm water with a pinch of sugar. If it becomes foamy within 5-10 minutes, it’s active and ready to use.
Getting Started: Activating the Yeast and Mixing the Dough
1. Activate the Yeast: In a large mixing bowl, combine the warm water and your chosen sweetener (honey or sugar). Sprinkle the active dry yeast over the surface. Give it a gentle stir to ensure all the yeast is submerged. Let this mixture sit, undisturbed, for about 5 to 10 minutes. You’ll know the yeast is alive and happy when it starts to bubble and foam, looking like a creamy layer on top of the water. This is the yeast waking up and begin extractning to produce carbon dioxide, which is what makes our bread rise. If you don’t see any activity, your yeast might be old, or the water temperature was off, and you’ll need to start again with fresh yeast.
2. Combine Wet and Dry Ingredients: Once your yeast mixture is nice and foamy, add the salt and the oil to the bowl. These ingredients contribute to flavor, texture, and the overall structure of the bread. Now, it’s time to add the flour. Start by adding 4 cups of the flour to the wet ingredients. Mix everything together with a wooden spoon or a sturdy spatula until a shaggy dough begin extracts to form. Don’t worry if it looks messy at this stage; we’re just getting things incorporated.
Kneading the Dough: Developing Structure and Gluten
3. Kneading for Elasticity: Turn the shaggy dough out onto a lightly floured surface. This is where the magic of kneading comes in. You’ll begin extract to knead the dough by pushing it away from you with the heels of your hands, then folding it back over itself. Rotate the dough a quarter turn and repeat the push-fold-turn motion. Continue this process for about 8-10 minutes. As you knead, you’ll add more flour, a little at a time, only as needed to prevent the dough from sticking to your hands and the surface. You’re looking for a dough that is smooth, elastic, and springs back slowly when you gently poke it with your finger. It should no longer feel overly sticky. This kneading process develops the gluten in the flour, which is the protein network that gives bread its structure and chewy texture. Over-kneading can make the bread tough, so err on the side of slightly less rather than too much.
The First Rise: Letting the Dough Work Its Magic
4. First Proofing: Lightly grease a clean, large bowl with a bit of oil. Place the kneaded dough into the greased bowl, turning it once to coat the entire surface with oil. This prevents a dry crust from forming. Cover the bowl tightly with plastic wrap or a clean kitchen towel. Find a warm, draft-free spot in your kitchen for the dough to rise. This could be on top of a slightly warm (but not hot) oven, in a sunbeam, or simply in a cozy corner of your counter. Let the dough rise for 1 to 1.5 hours, or until it has doubled in size. The exact time will depend on the temperature of your environment. You’ll know it’s ready when it looks puffy and has a good amount of volume. This first rise is crucial for developing flavor and a light, airy crum extractb.
Shaping and Second Rise: Preparing for the Oven
5. Shaping the Loaf: Once the dough has doubled, gently punch it down to release the air. Turn the dough out onto a lightly floured surface again. You can shape your dough into a classic round boule or a rectangular loaf for a standard loaf pan. To shape a loaf pan loaf, gently flatten the dough into a rough rectangle, then fold the top third down, the bottom third up (like folding a letter), and then pinch the seam to seal. Gently roll the dough to create tension on the surface, forming a smooth log. Place the shaped dough into a greased 9×5 inch loaf pan.
6. Second Proofing: Cover the loaf pan loosely with plastic wrap or a clean kitchen towel. Allow the dough to rise again in a warm place for another 30-45 minutes, or until it has almost doubled in size and comes just above the rim of the pan. This second rise, or proofing, is essential for creating that beautiful, light texture. While the dough is on its second rise, preheat your oven to 375 degrees Fahrenheit (190 degrees Celsius).
Baking to Perfection: The Final Transformation
7. Baking: Once the dough has completed its second rise and your oven is preheated, it’s time to bake! You can optionally brush the top of the loaf with a little milk or an egg wash for a golden sheen. Carefully place the loaf pan into the preheated oven. Bake for 30-35 minutes. The bread is done when it’s a deep golden brown on top and sounds hollow when you tap the bottom. If you have a thermometer, the internal temperature should register around 190-200 degrees Fahrenheit (88-93 degrees Celsius).
Cooling and Enjoying: The Sweet Reward
8. Cooling: Immediately remove the bread from the loaf pan and place it on a wire rack to cool completely. This is perhaps the hardest part, but it’s vital! Cooling allows the steam inside the loaf to escape, preventing a gummy texture. Resist the urge to slice into it while it’s still hot. Once cooled, slice it with a serrated bread knife and enjoy the fruits of your labor. Whether slathered with butter, used for a sandwich, or simply enjoyed on its own, homemade bread is an unparalleled delight.
Conclusion:
So there you have it! You’ve learned the rewarding process of creating delicious homemade bread. This recipe is truly fantastic because it demystifies bread making, showing you that with a few simple ingredients and a little patience, you can achieve a wonderfully crusty exterior and a soft, airy interior that store-bought bread simply can’t match. The aroma that fills your kitchen as it bakes is an experience in itself, making every moment of effort worthwhile. It’s perfect served warm with a generous slather of butter, or as the base for your favorite sandwiches. Don’t hesitate to get creative with variations! Consider adding herbs like rosemary or thyme to the dough for an aromatic twist, or mix in some seeds like sunflower or poppy seeds for extra texture and flavor. Even a sprinkle of cheese can elevate your loaf to new heights. I truly encourage you to give this homemade bread recipe a try; the satisfaction of pulling your own perfect loaf from the oven is unparalleled, and it’s a skill that will serve you well for years to come.
Frequently Asked Questions:
Why is my homemade bread dense?
A dense loaf often indicates that the yeast wasn’t active enough, or the dough wasn’t kneaded sufficiently to develop gluten. Ensure your yeast is fresh and that you’ve allowed the dough to rise in a warm place. Proper kneading is crucial for that light, airy texture.
Can I make this bread ahead of time?
Absolutely! Once cooled, you can store your homemade bread in an airtight container or bread bag at room temperature for 2-3 days. For longer storage, it freezes beautifully. Just slice it and freeze individual portions for easy toasting.
Homemade Bread
A simple and delicious recipe for homemade bread, perfect for beginners.
Ingredients
-
2 cups warm water (105-115 degrees F)
-
1 Tablespoon active dry yeast
-
1/4 cup honey
-
2 teaspoons salt
-
2 Tablespoons canola oil
-
4 – 5 1/2 cups all-purpose flour
Instructions
-
Step 1
In a large bowl, combine the warm water and honey. Sprinkle the yeast over the top and let it sit for 5-10 minutes until frothy. -
Step 2
Stir in the salt and canola oil into the yeast mixture. -
Step 3
Gradually add the flour, 1 cup at a time, mixing until a shaggy dough forms. Continue adding flour until the dough is no longer sticky. -
Step 4
Turn the dough out onto a lightly floured surface and knead for 8-10 minutes until smooth and elastic. Alternatively, use a stand mixer with a dough hook. -
Step 5
Place the dough in a greased bowl, cover with a damp cloth, and let it rise in a warm place for 1-1.5 hours, or until doubled in size. -
Step 6
Punch down the dough and shape it into a loaf. Place it in a greased loaf pan. -
Step 7
Cover the loaf pan and let the dough rise again for 30-45 minutes. -
Step 8
Preheat oven to 375 degrees F (190 degrees C). Bake for 30-35 minutes, or until the crust is golden brown and the internal temperature reaches 190-200 degrees F (88-93 degrees C). -
Step 9
Remove from the oven and let cool on a wire rack before slicing.
Important Information
Nutrition Facts (Per Serving)
It is important to consider this information as approximate and not to use it as definitive health advice.
Allergy Information
Please check ingredients for potential allergens and consult a health professional if in doubt.